AI Editor
AI Editor in Effect House allows you to train and customize your own AI model to enhance your effects. You can select from available AI models and/or use prompts to apply a stylized image or video to your effect.
Access AI Editor
To open the AI Editor window:
- Open Effect House and navigate to the Tool Bar
- Go to AI Editor
- Choose from the following three options:
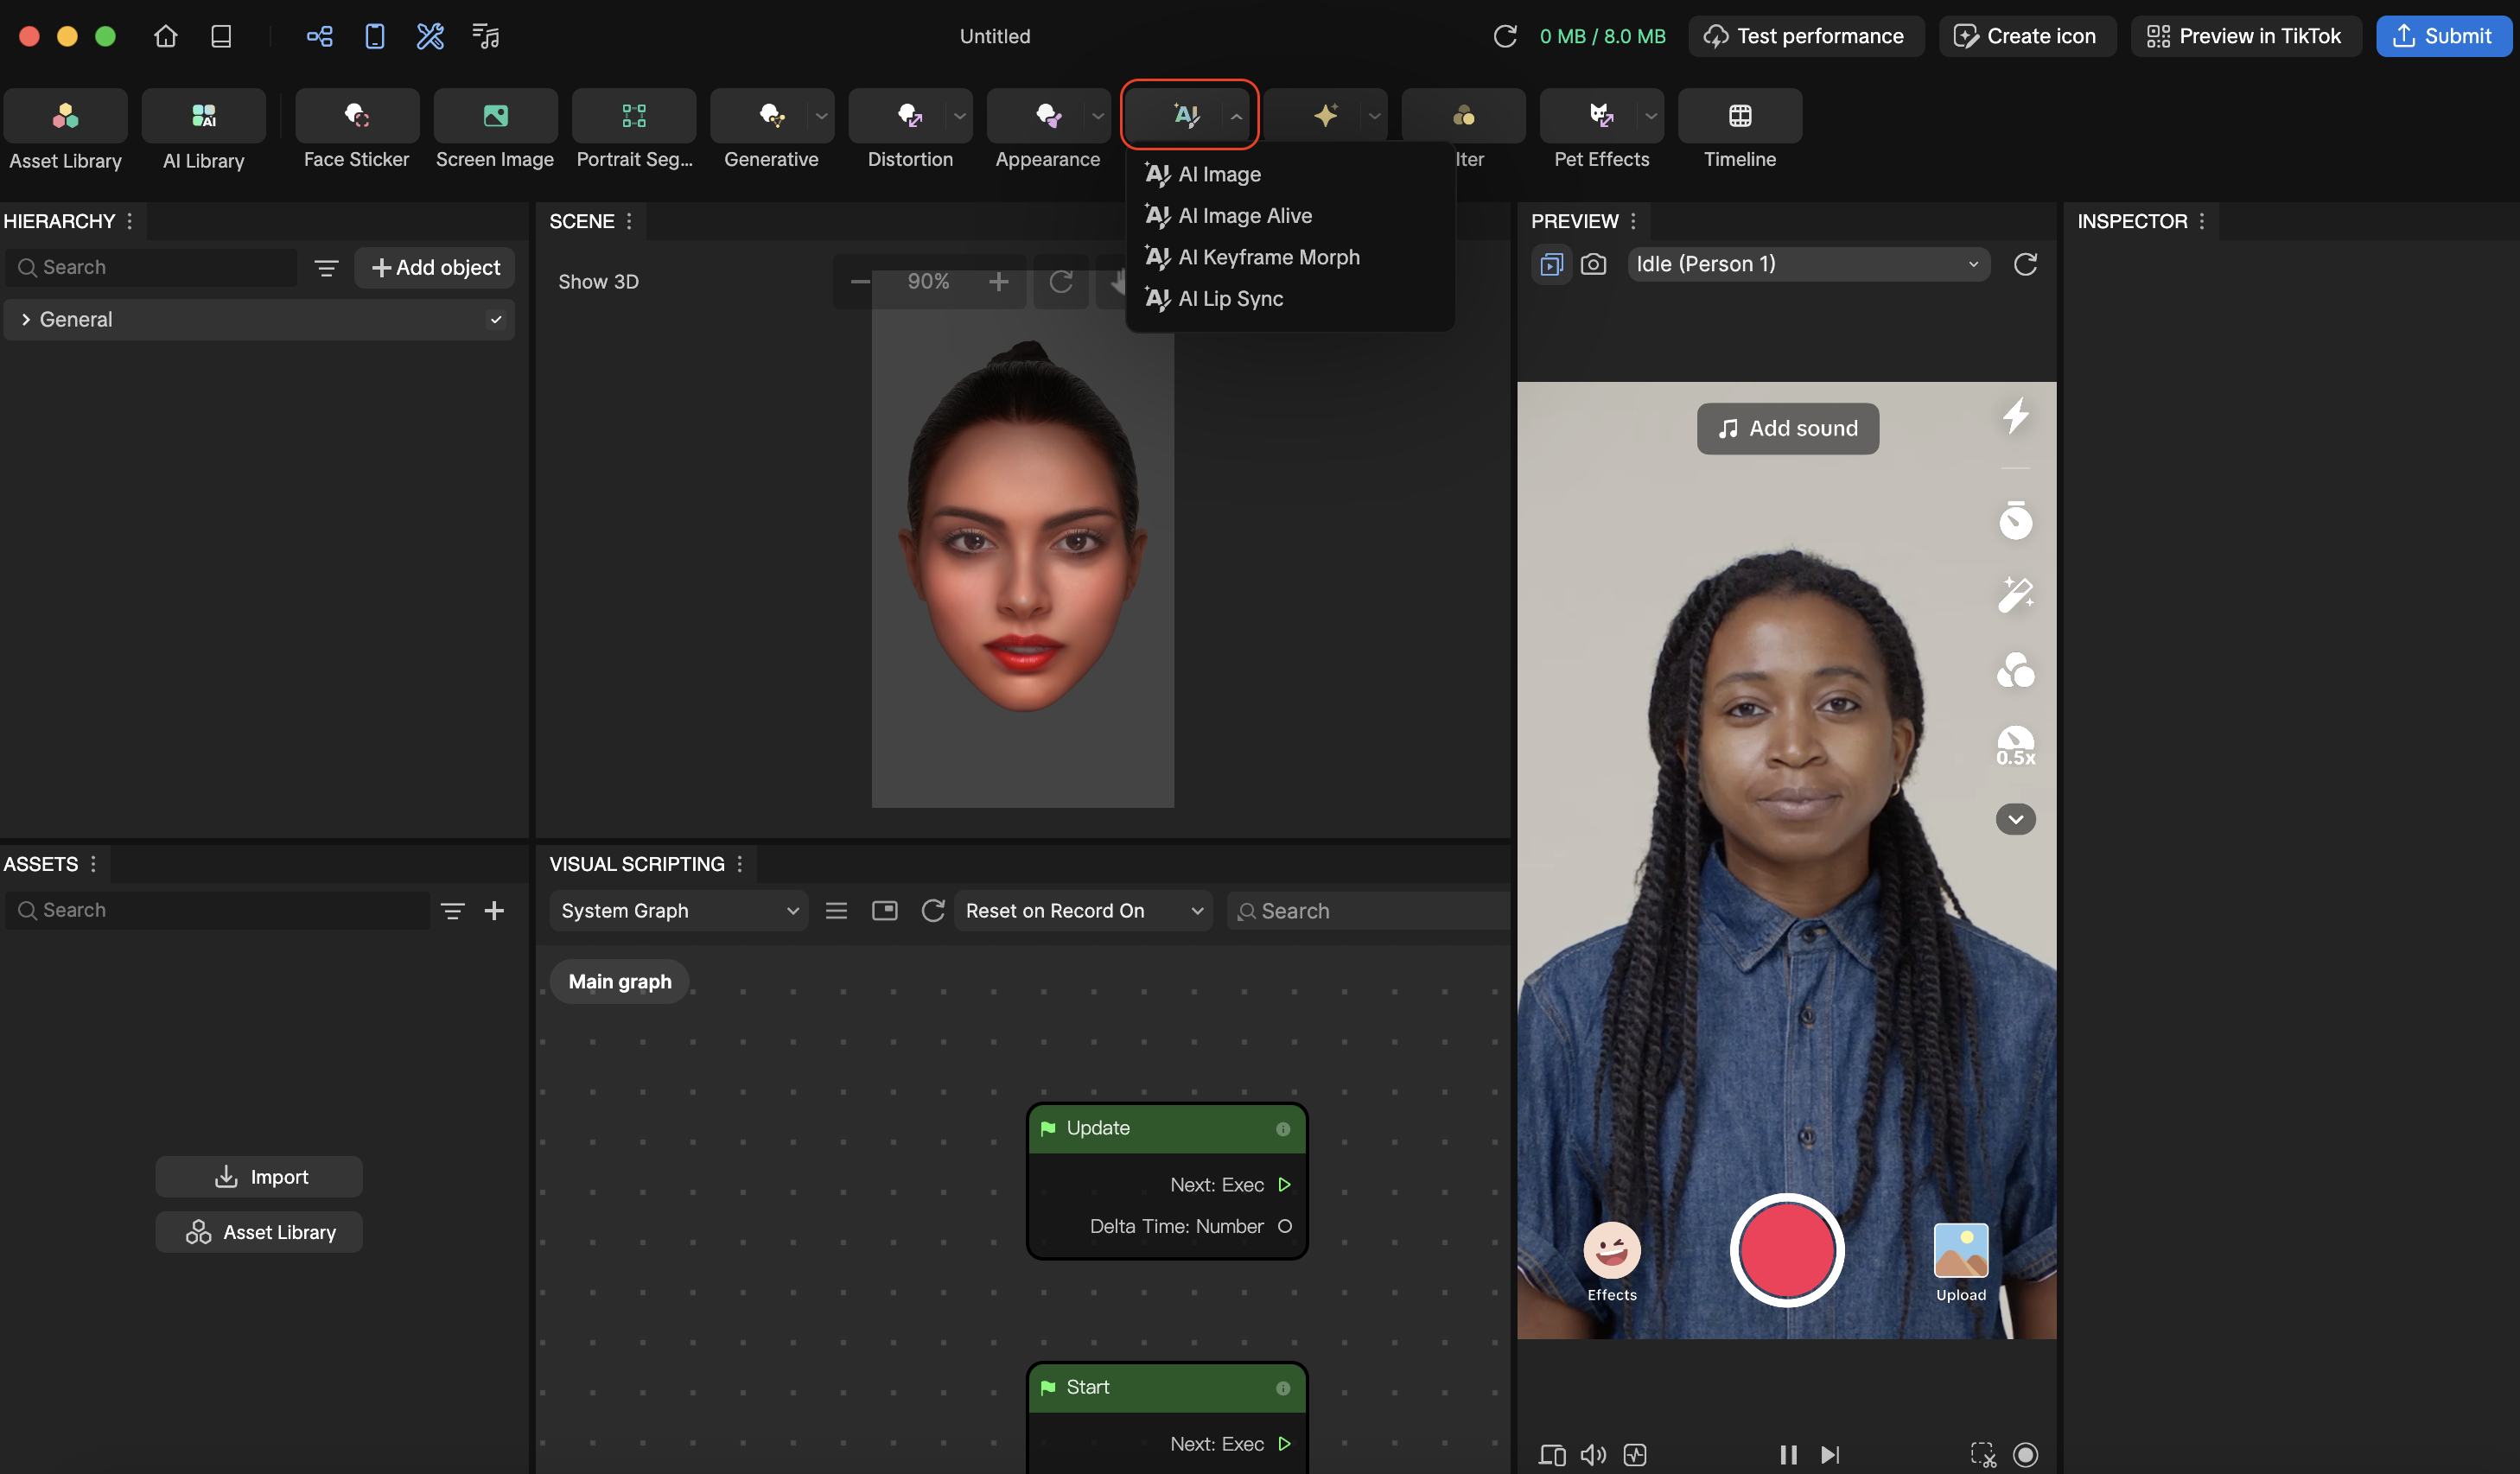
- AI Image – Opens the Image Model generator
- AI Image Alive – Opens the Video Model generator
- AI Keyframe Morph – Opens the Video Model generator
- AI Lip Sync – Opens the Video Model generator for the AI Lip Sync model
- Alternatively, click Add Object in the Hierarchy panel, go to AI Editor, and choose:
- AI Image – Opens the Image Model generator
- AI Image Alive – Opens the Video Model generator
- AI Keyframe Morph – Opens the Video Model generator
- AI Lip Sync – Opens the Video Model generator for the AI Lip Sync model
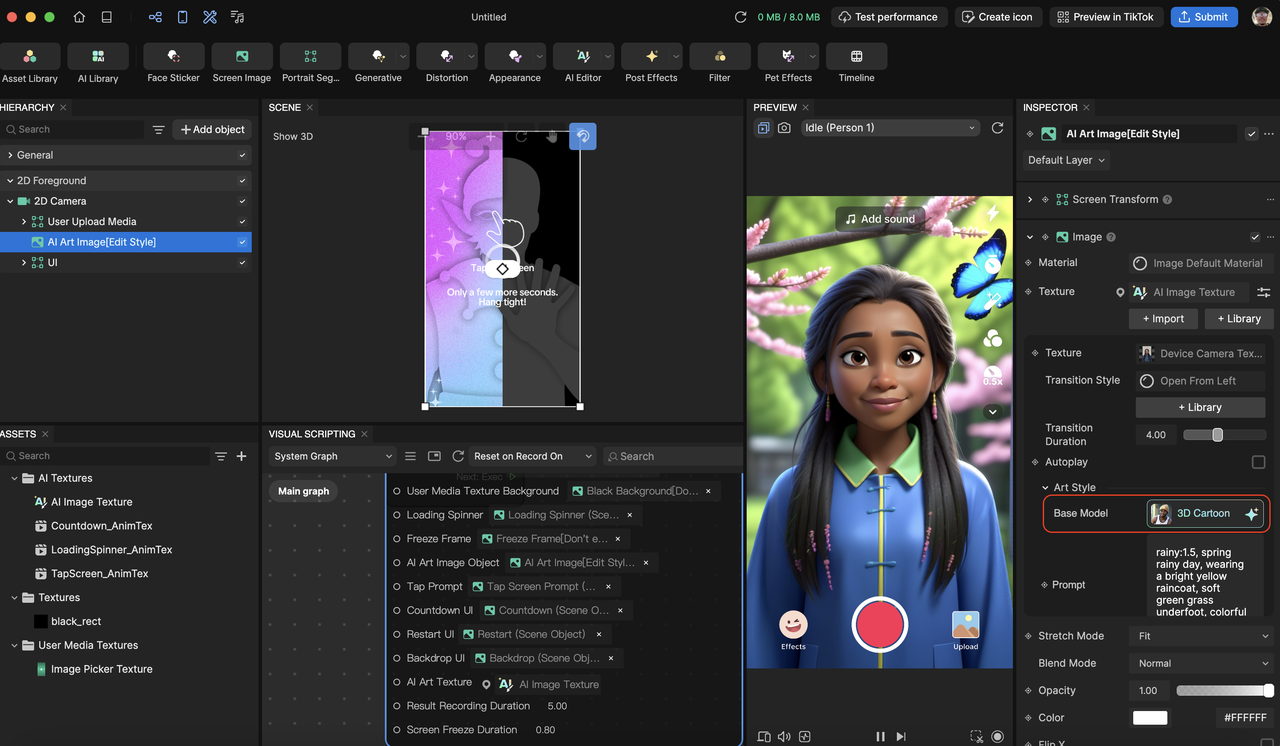
- You can also access the AI Editor from an AI Texture. Go to the Inspector panel and under Art Style, click the Base Model field to reopen AI Editor.
You can now start using AI Editor to create your own Image Models.
AI Editor Key Features
- Image Model – A chat panel with built-in customization settings where you can input descriptive text (prompts) to generate an AI model
- Video Model – A chat panel with built-in customization settings where you can input images and turn them into video effects
- Preset Library – A variety of predefined models that you can use as is or customize using the image generator
- Preview Media – A section where you can upload your own images or choose from a library of images to preview your model
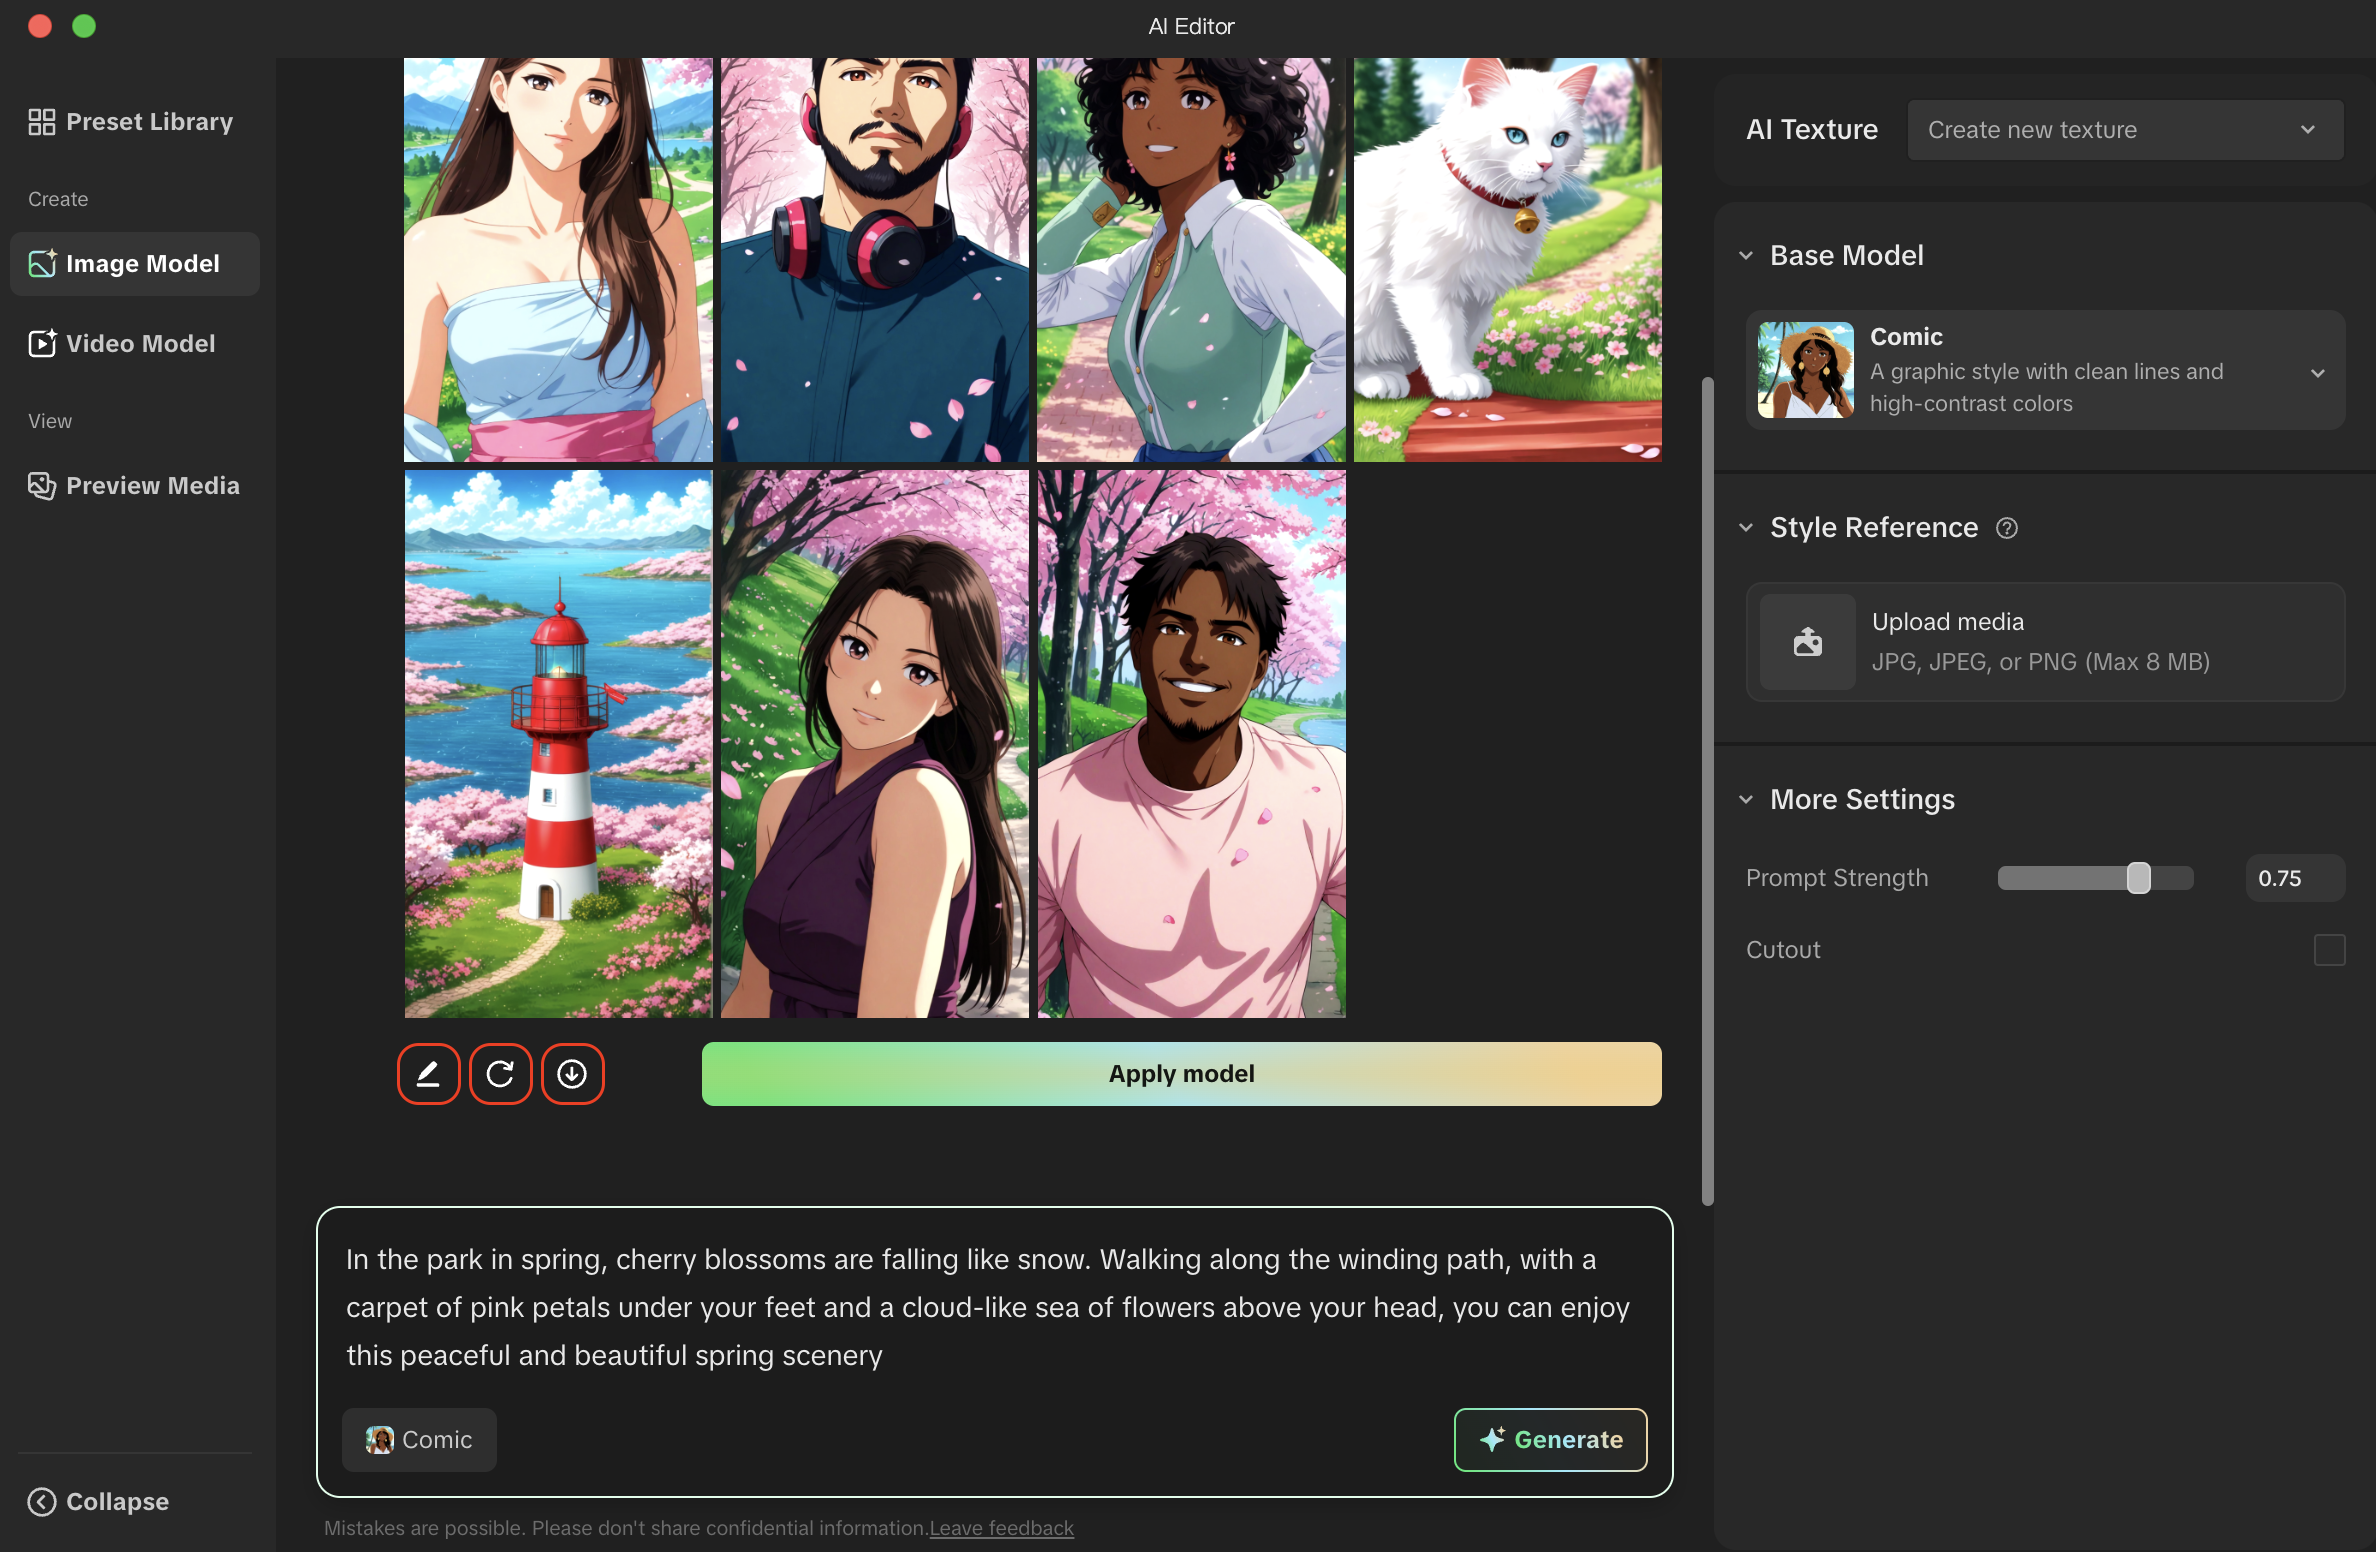
Image Model
The image generator outputs an AI model based on the base model, text prompt, reference image, and style selections. It enables you to generate a unique base model that can be used as AI Texture or AI Image within effects.
Generating Your AI Model
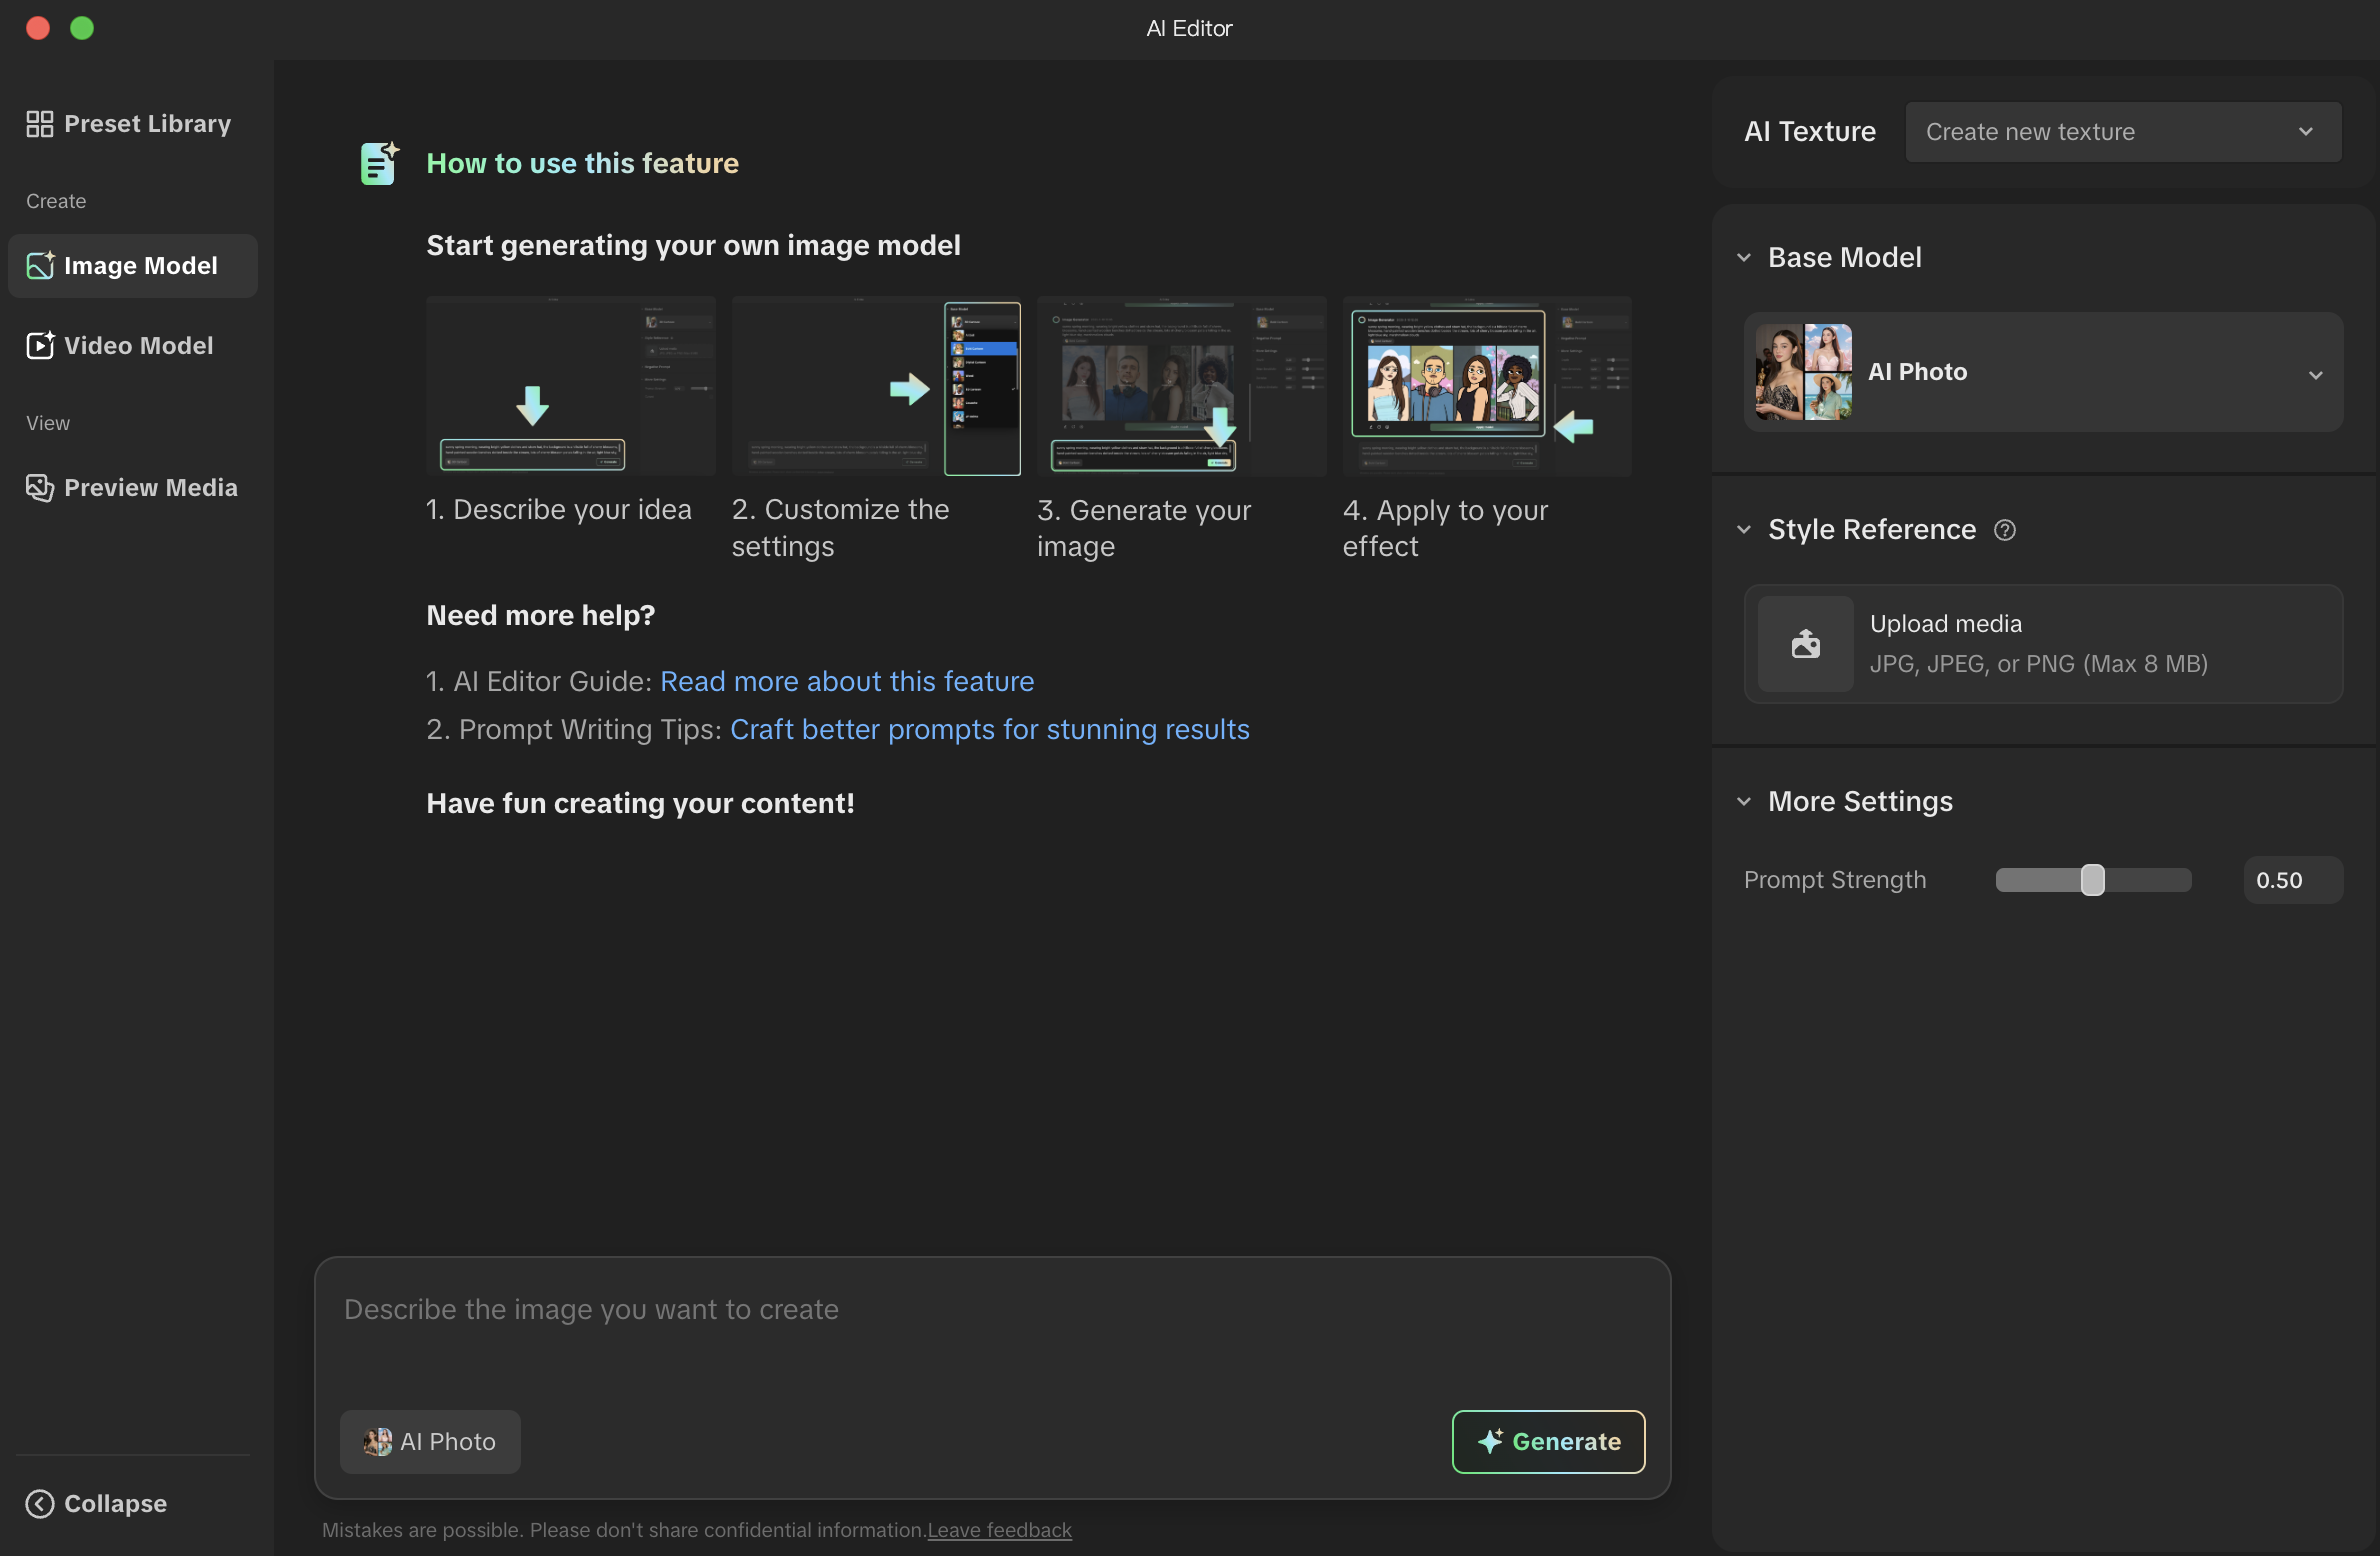
Base Model
To generate your AI model, start by selecting a base model. Base models serve as the foundation for generating stylized effects. Each base model is a pre-trained AI framework with distinct characteristics, trained on various datasets to produce specific styles. These models define the core structure, color schemes, and rendering techniques before any additional stylization is applied. Learn more about the different image models.
Text Prompt
The chat panel allows you to enter your text prompt or the style of image you want to create from the base model. For example, "A futuristic city skyline at sunset with flying cars." Use clear and specific language to describe your vision.
Read How to Write a Well-Crafted Prompt) for inspiration and additional guidance, and make sure your prompt adheres to our Community Guidelines.
Reference Image
To supplement your text prompt, you can upload an image to use as a style reference for the AI model.
More Settings (Optional)
To further customize your model, you can adjust the parameters within More Settings. These parameters can change depending on the base model you choose.
- Prompt Strength: Refers to the degree of influence that your text prompt has on the final AI-generated image. It determines how strictly the AI follows your input prompt versus how much creative freedom it takes to generate variations.
- Depth: Adjusts the perception of depth and dimensionality in the generated image
- Edge Sensitivity: Determines how strongly the AI detects and preserves edges and contours within the image
- Subject Similarity: Controls how closely the AI-generated image resembles the original input (for example, reference image or base content)
- Face Similarity: Adjusts how much the AI prioritizes preserving facial features from the original input
- Cutout: Enables or disables the background behind the subject
Generate
Generates the final results based on the text prompt, reference image, and optional customization settings.
Edit, Regenerate, and Download
- Edit: Re-edits the prompt to it's original prompt text
- Regenerate: Regenerates the model based on the prompt
- Download: Allows you to download all images as an asset
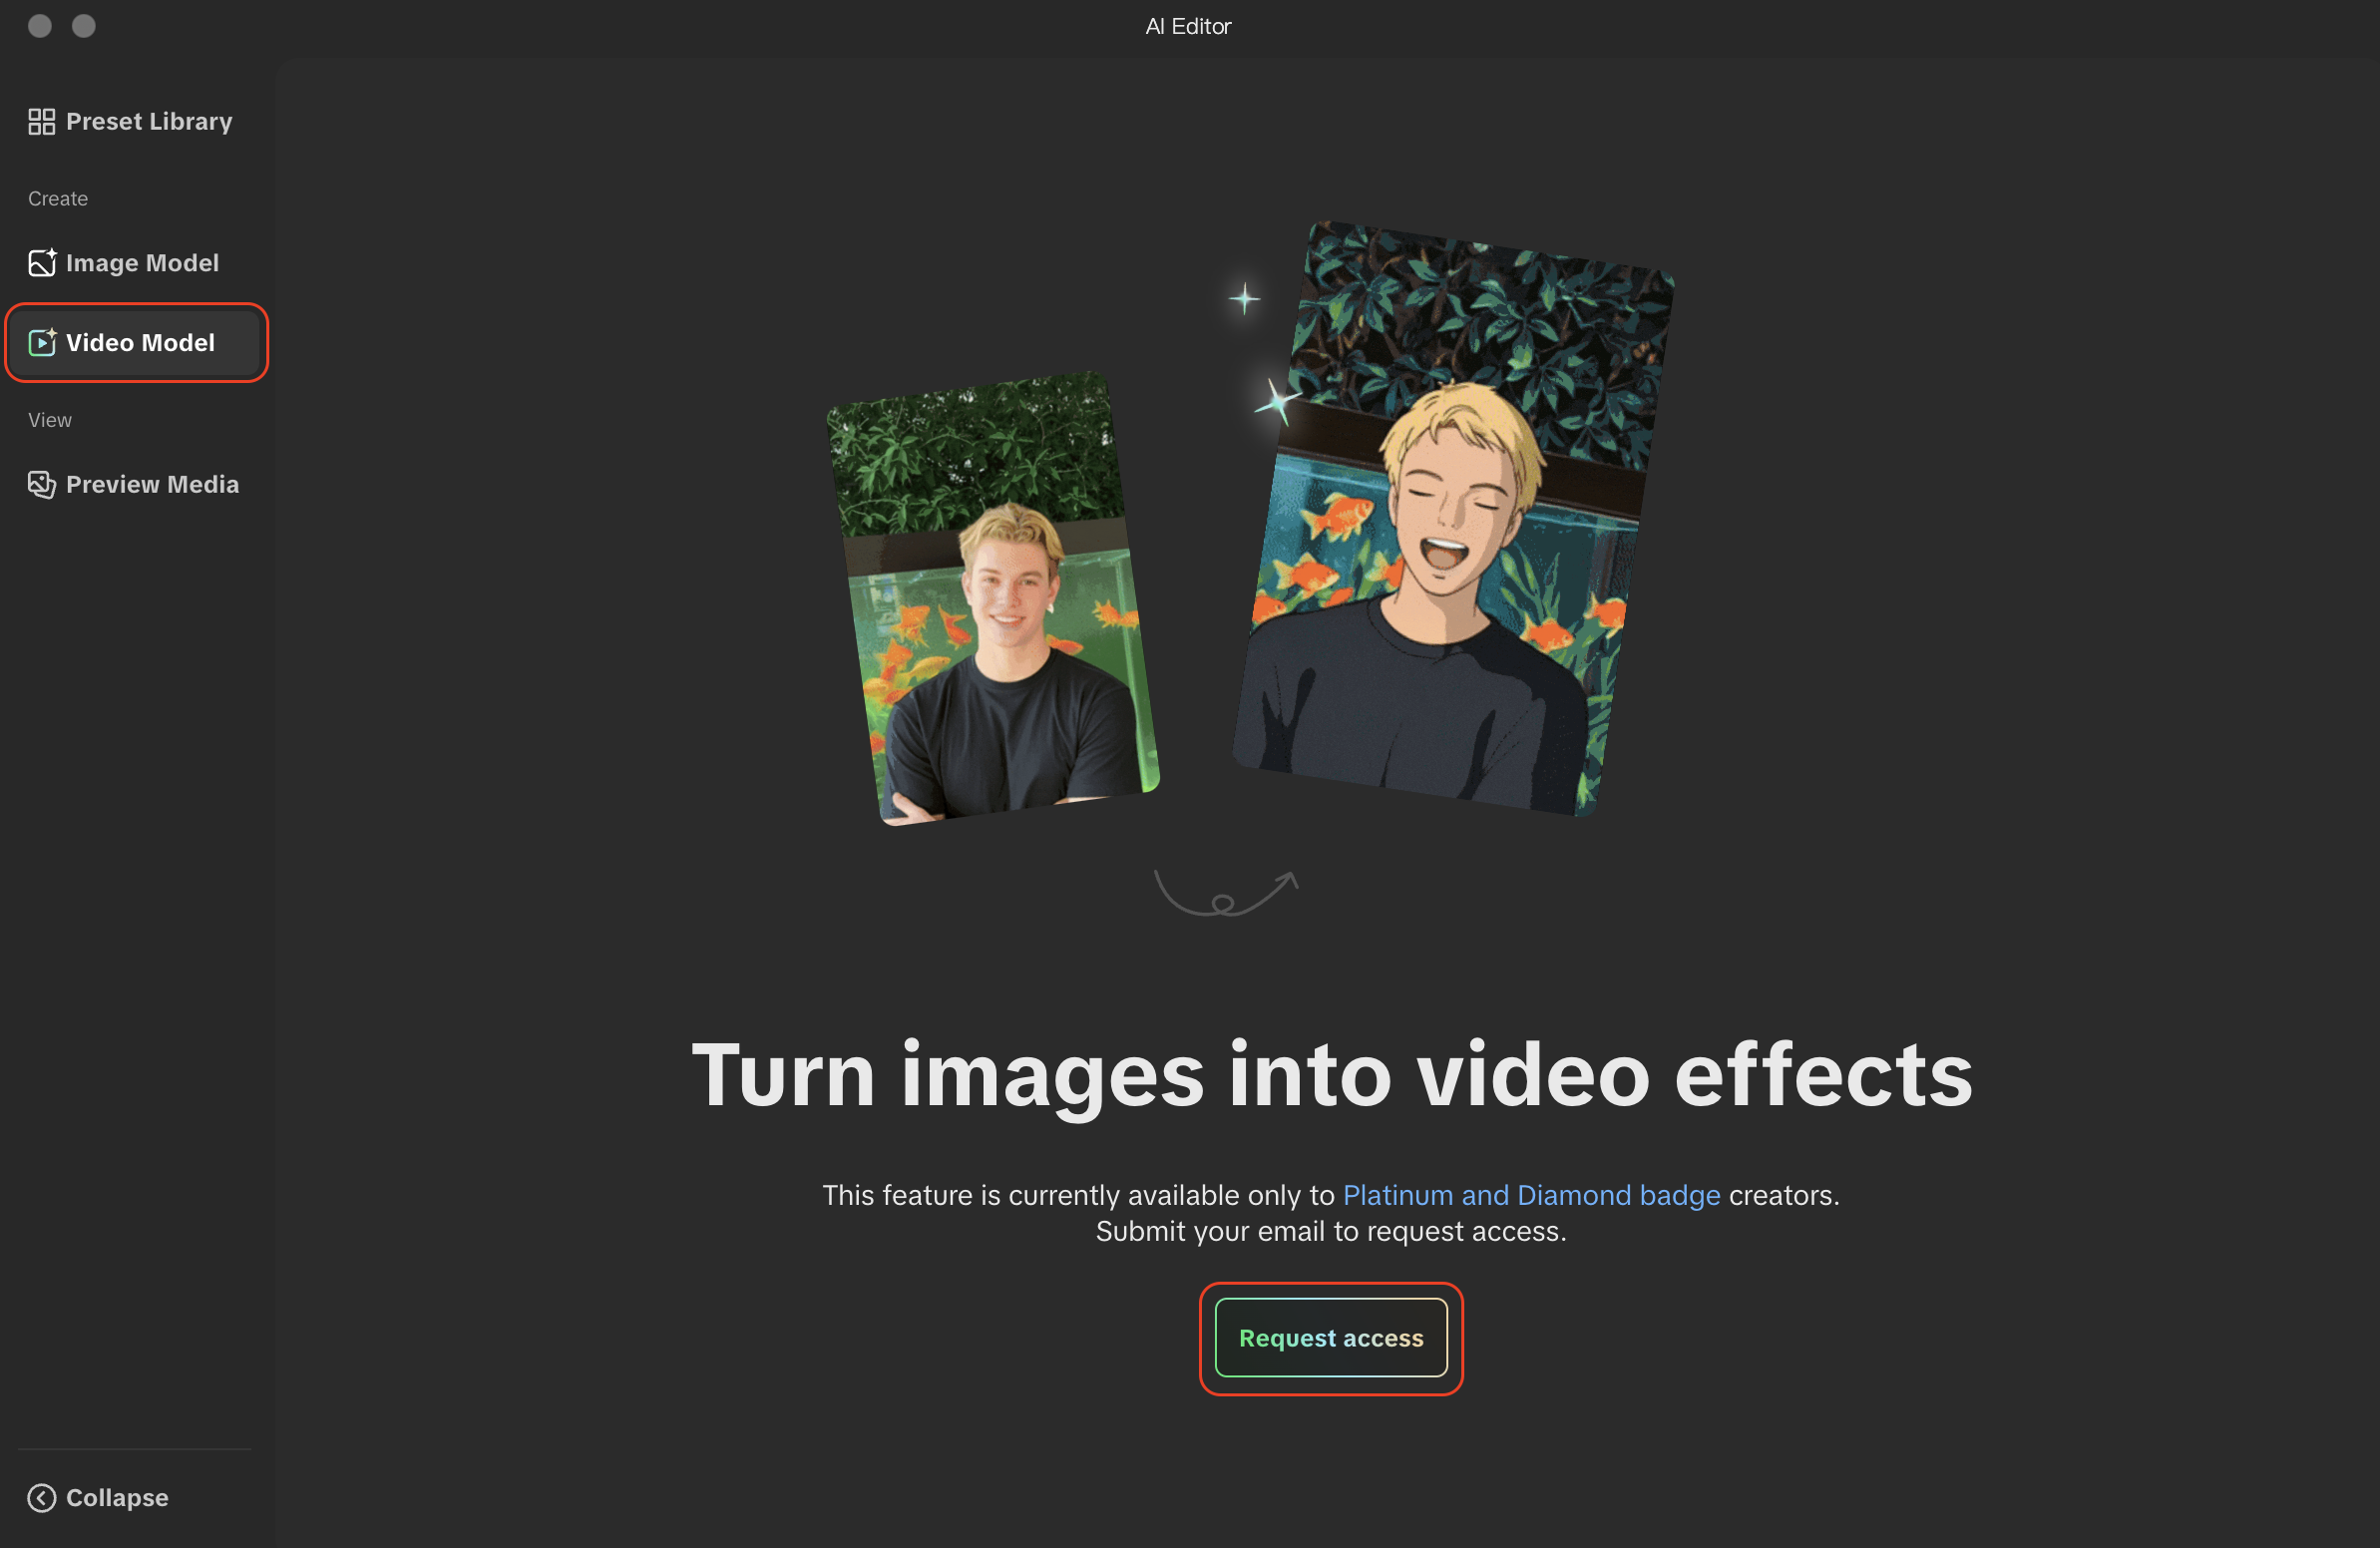
Video Model
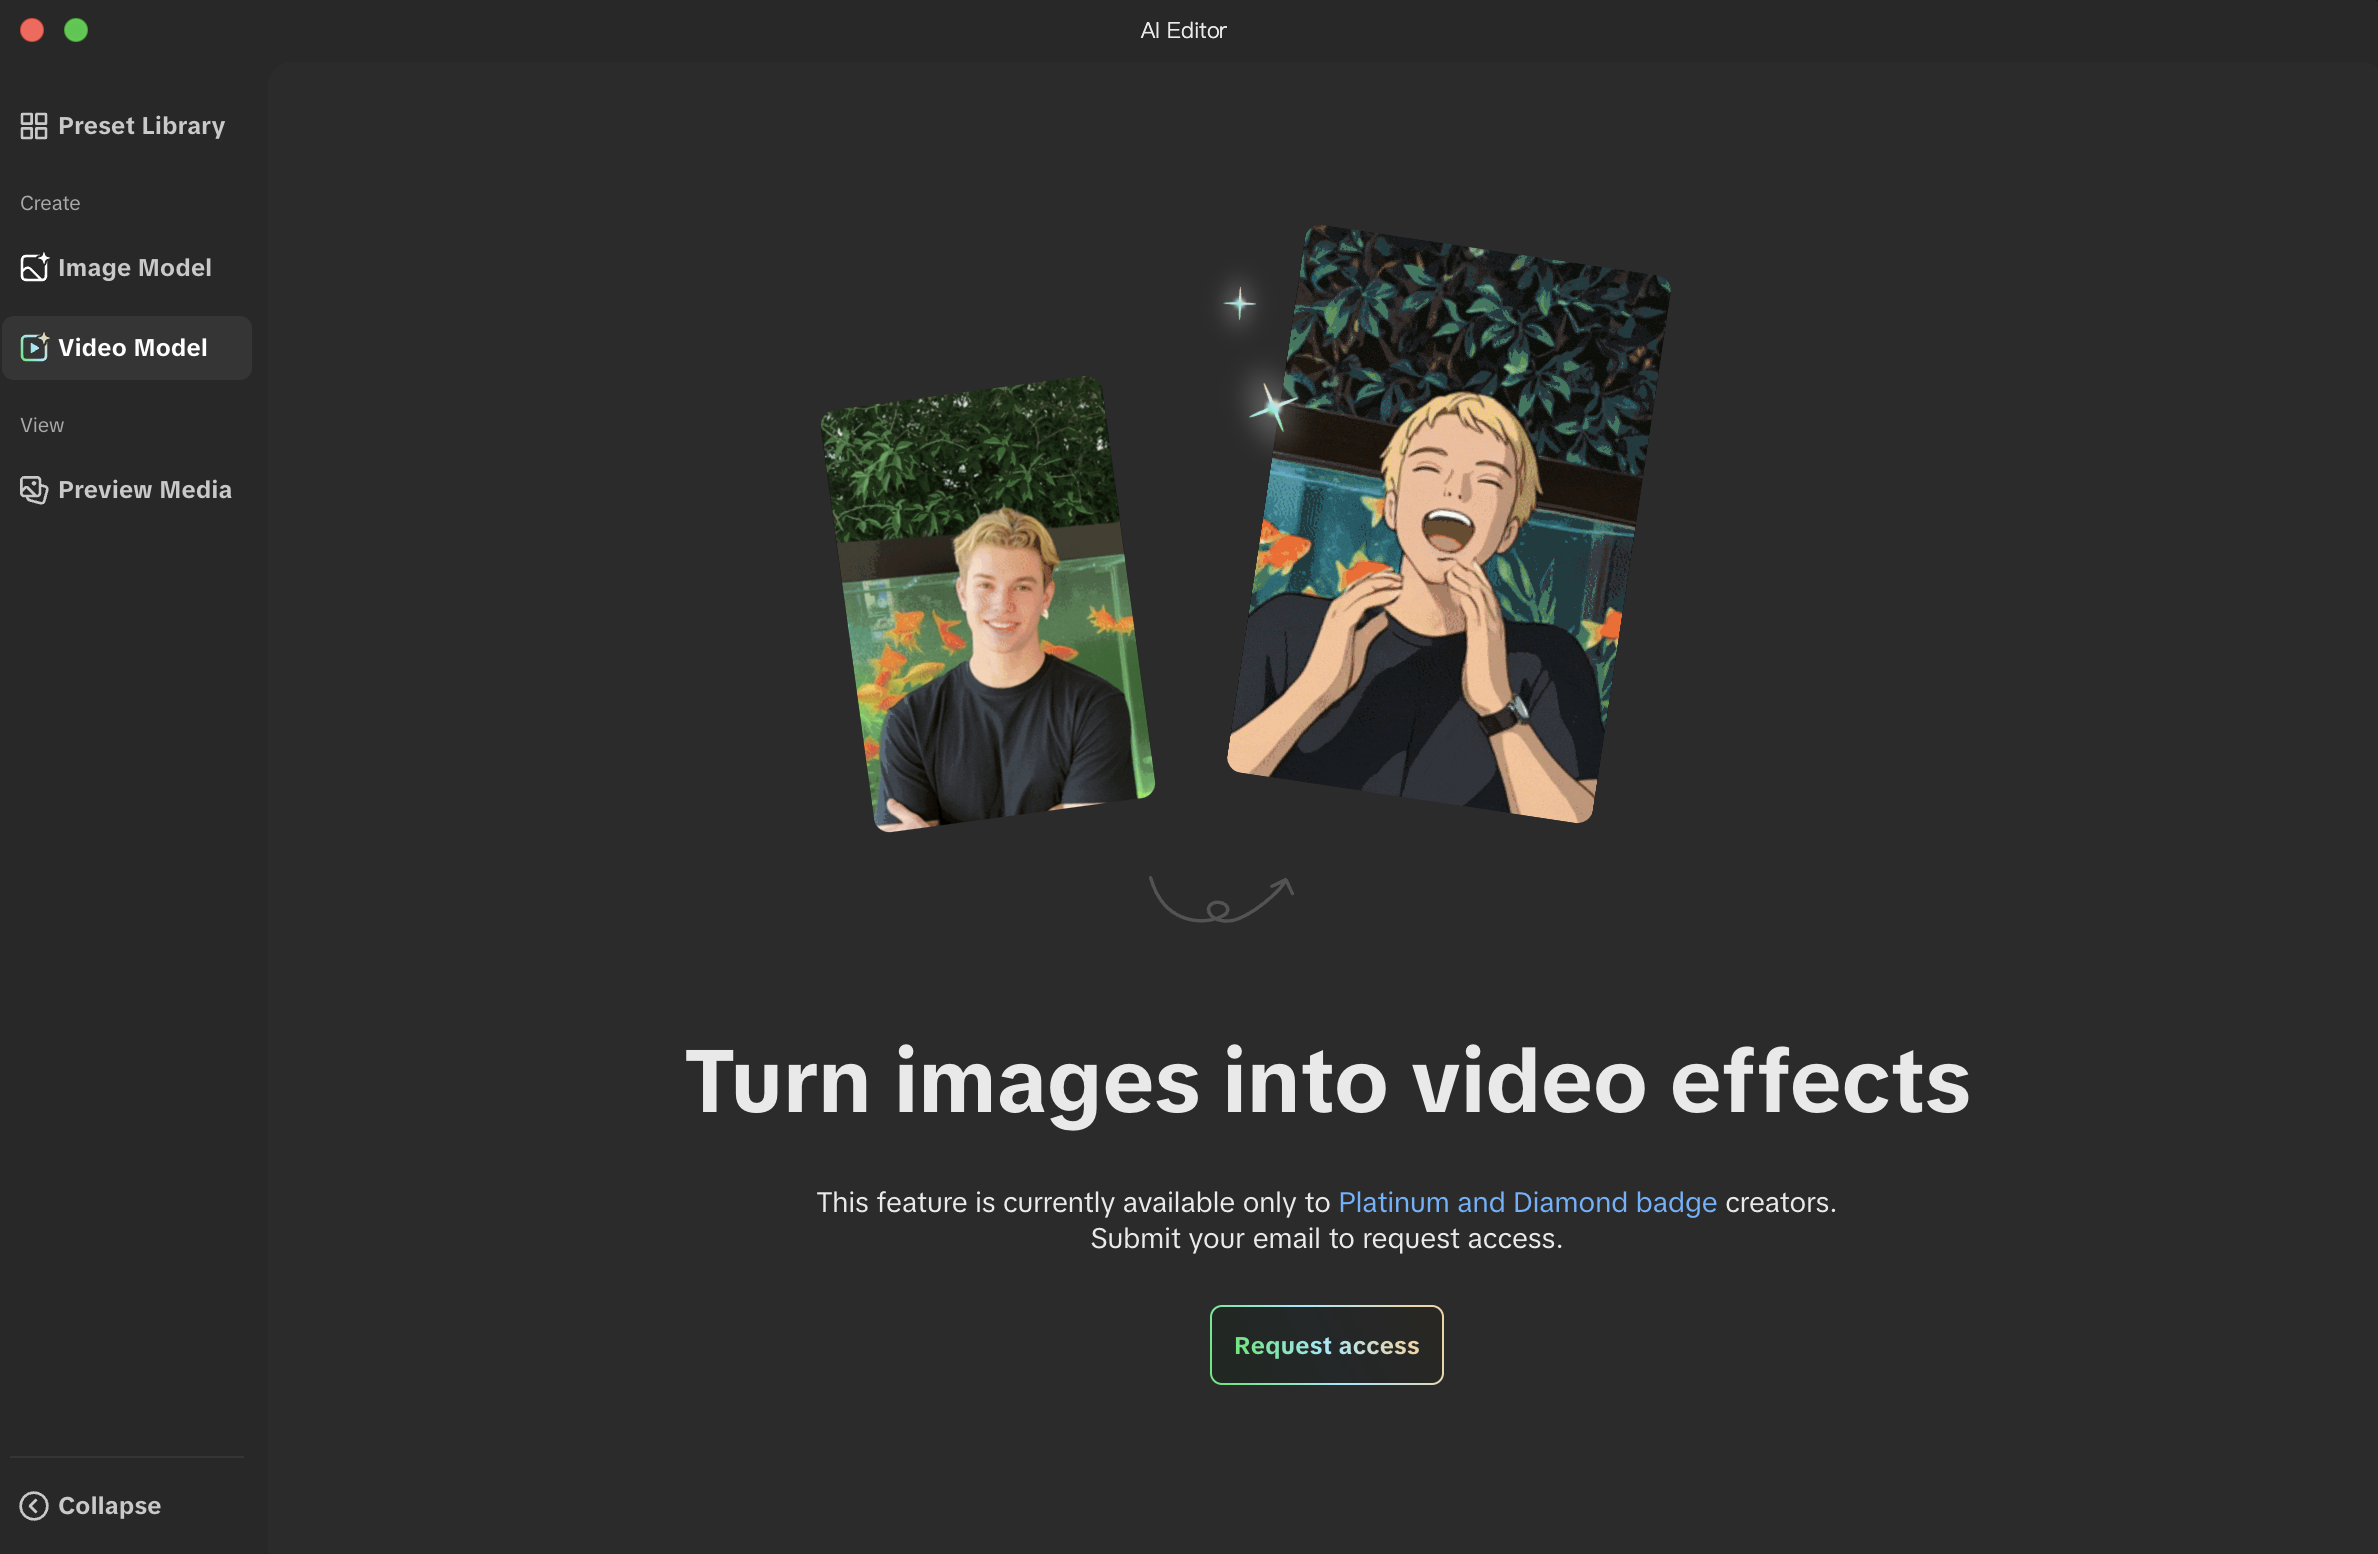
The Video Model generates an AI model based on your selected base model, text prompt, custom frames, and style settings. It enables you to create stylized video outputs that can be used as animated textures or background elements within your effects.
Getting Started
This feature is currently only available to Platinum and Diamond badge creators. To use the Video Model feature, click Request access to submit your access request. You'll receive an email once your access has been granted.
Generating Your AI Video Model
Base Model
To generate your AI video model, start by selecting a base model. These models define how your input is transformed into motion-based effects. For video, there are currently two base models:
- Keyframe Morph – Morphs a start frame image into an AI-generated end frame, creating a smooth visual transformation.
- Image Alive – Brings still images to life with fluid animation and natural movements. Each base model offers a different animation approach for generating stylized video content based on your prompt and inputs.
- Lip Sync – Animates lips in an image to match the audio from a reference video.
Learn more about each of the available video models.
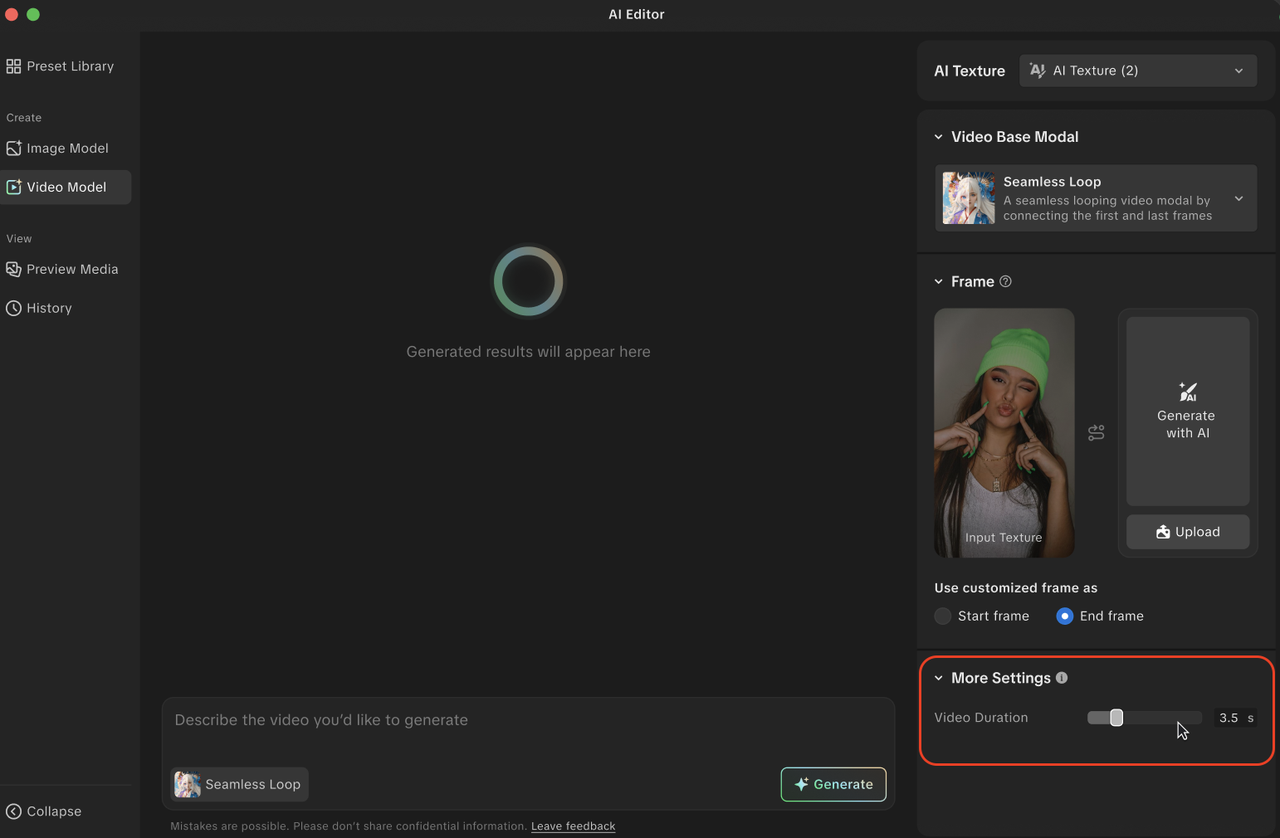
Custom Frame
Frames are images that define the start and end states of your animation or video. To customize the style of your start and end frames, simply upload a reference image or generate a style using the Image Model panel. The style from your reference image or the generated model will be applied to the input texture.
When customizing a frame, you'll need to upload the following:
- Start Frame — Use this to define the initial state of your animation or transition.
- End Frame — Use this to set the final state of the animation.
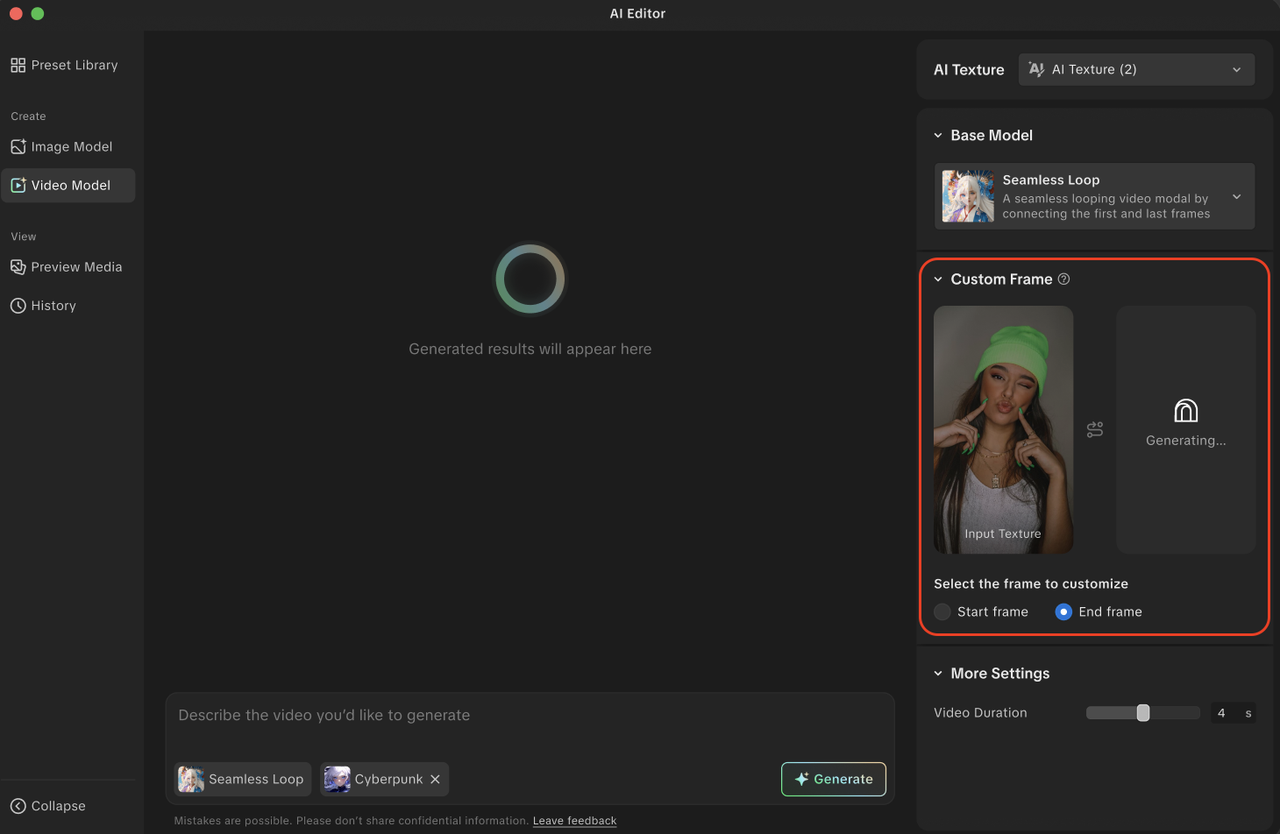
More Settings (Optional)
To change your video duration, you can adjust it within More Settings using the slider or by entering a value directly.
- Slider – Drag to increase or decrease the duration
- Manual Input – Enter the duration in seconds
Text Prompt
The chat panel allows you to enter your text prompt or the style of video you want to create from the base model. For example, "A futuristic city skyline at sunset with flying cars gliding between skyscrapers." Use clear and specific language to describe your vision.
Read How to Write a Well-Crafted Prompt for inspiration and additional guidance, and make sure your prompt adheres to our Community Guidelines.
Generate
Generates the final results based on the text prompt, custom frames you select, and video duration setting.
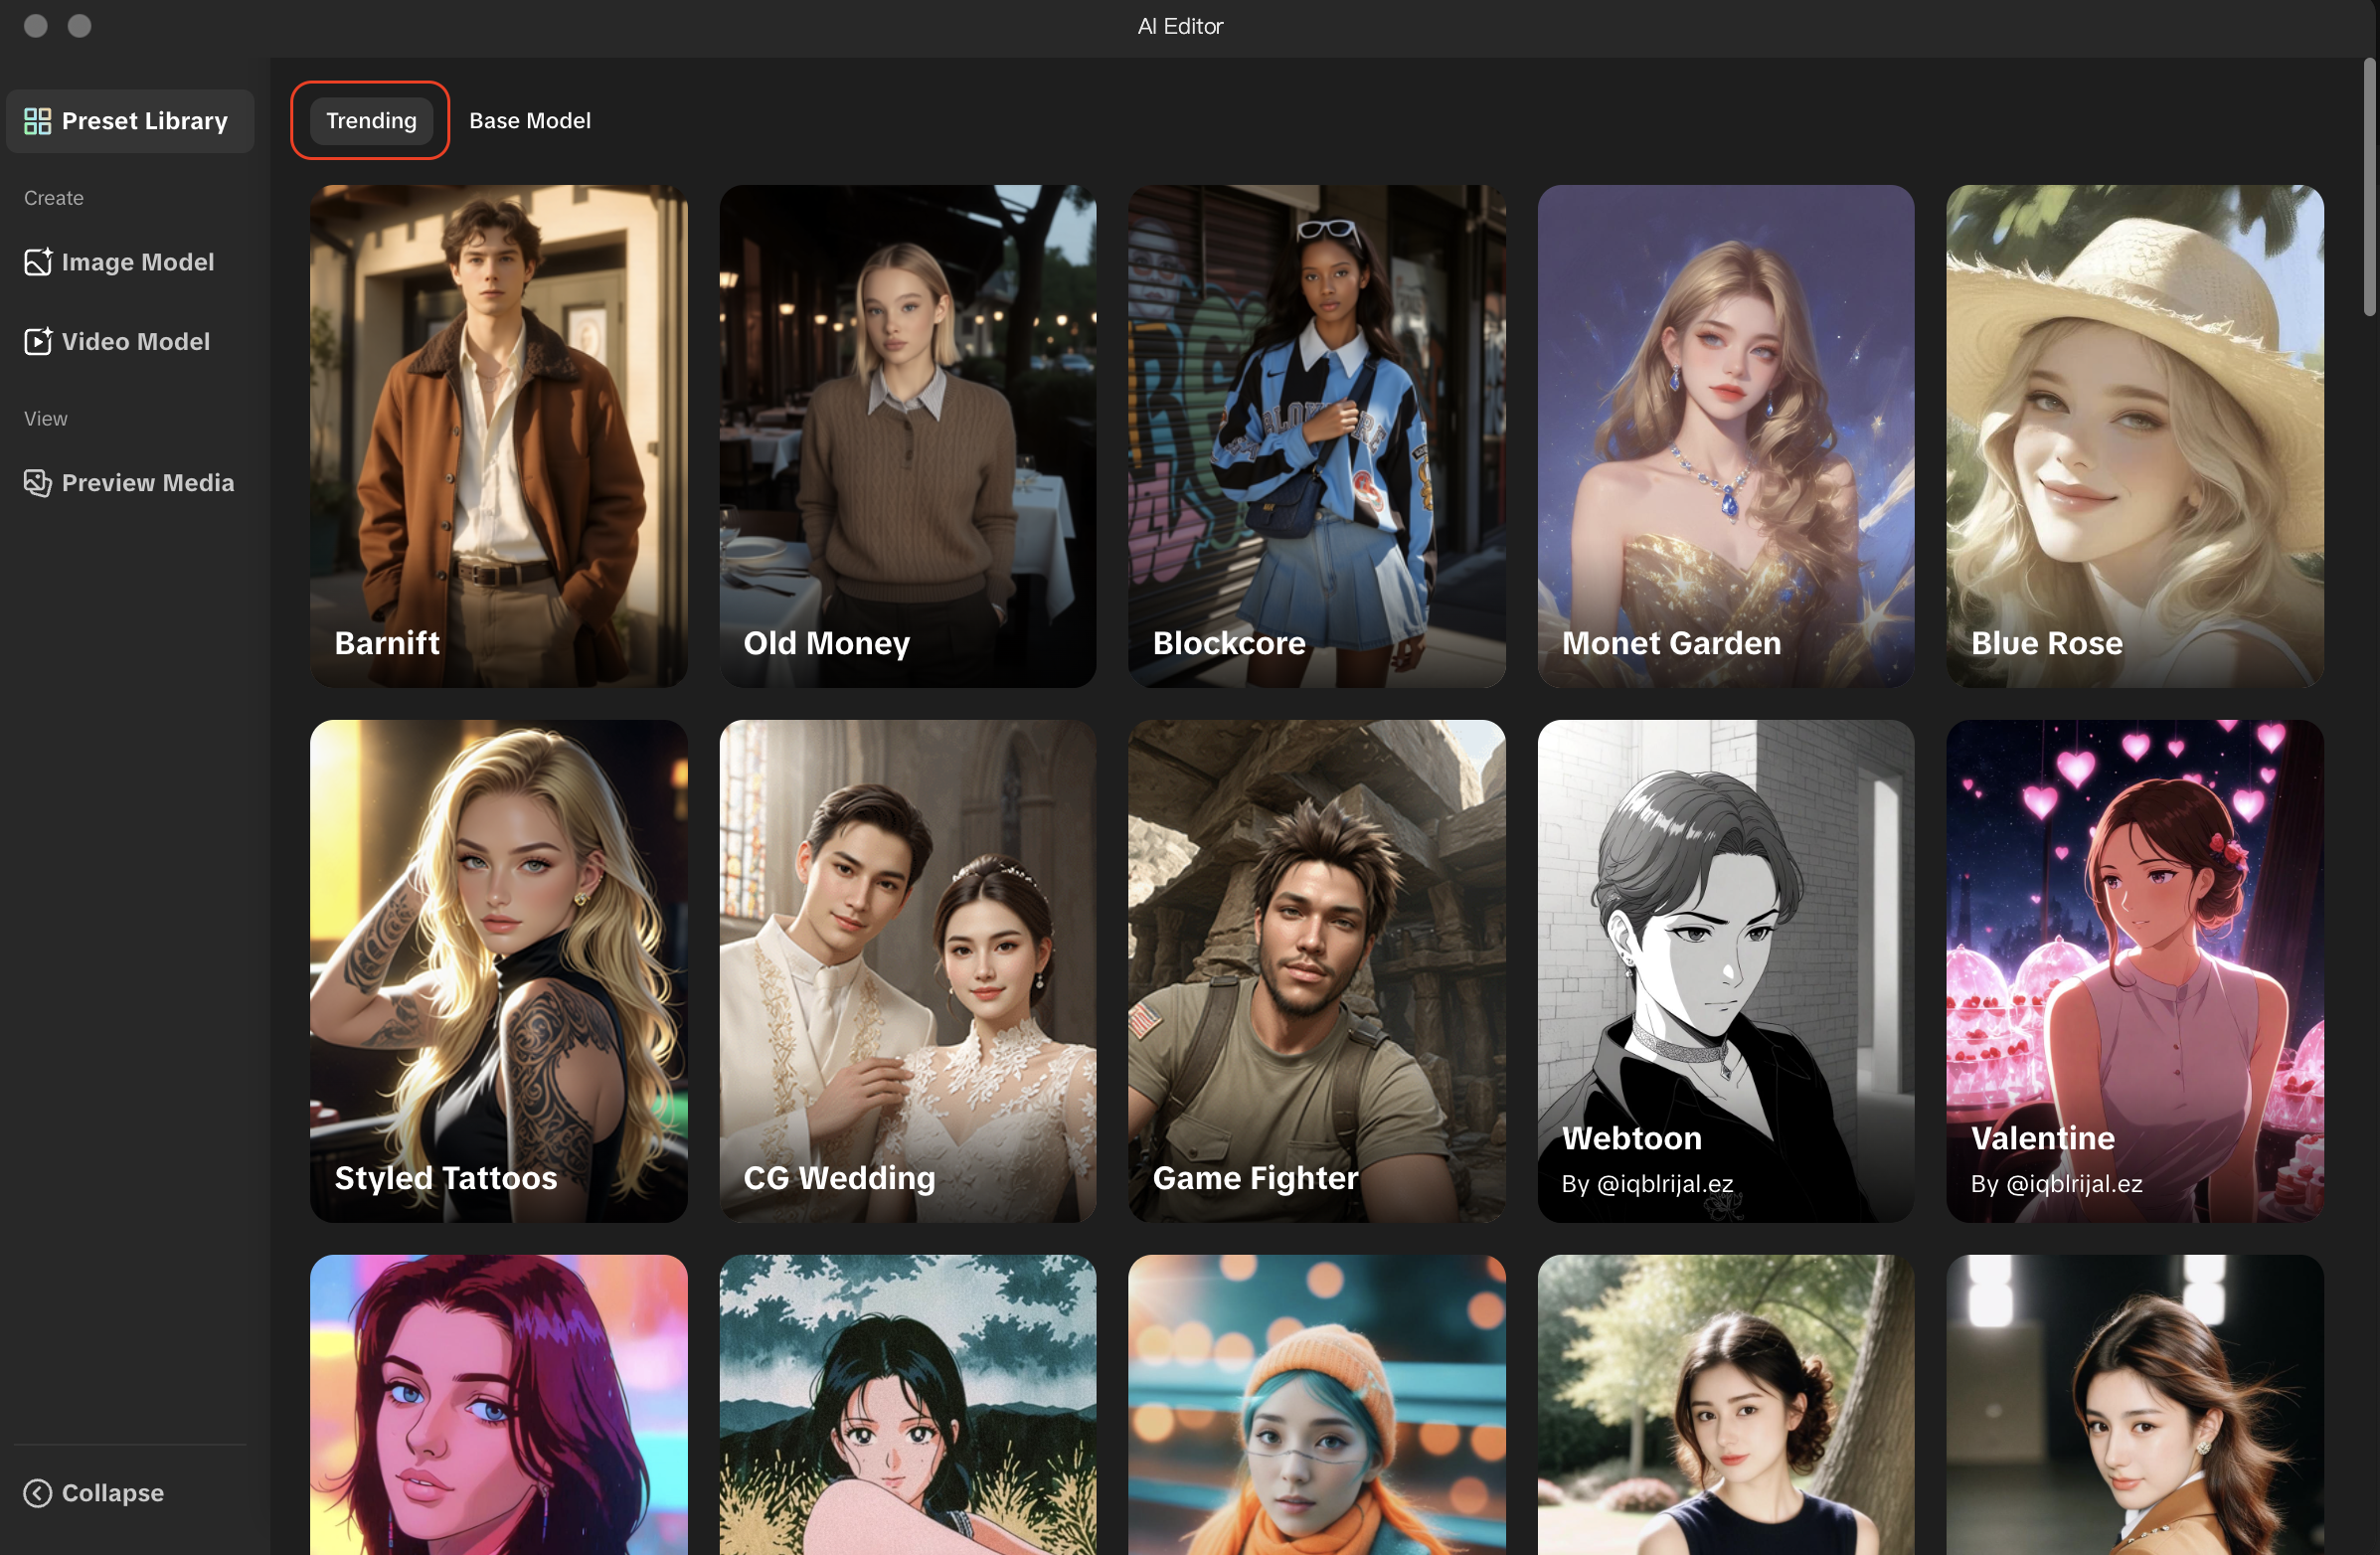
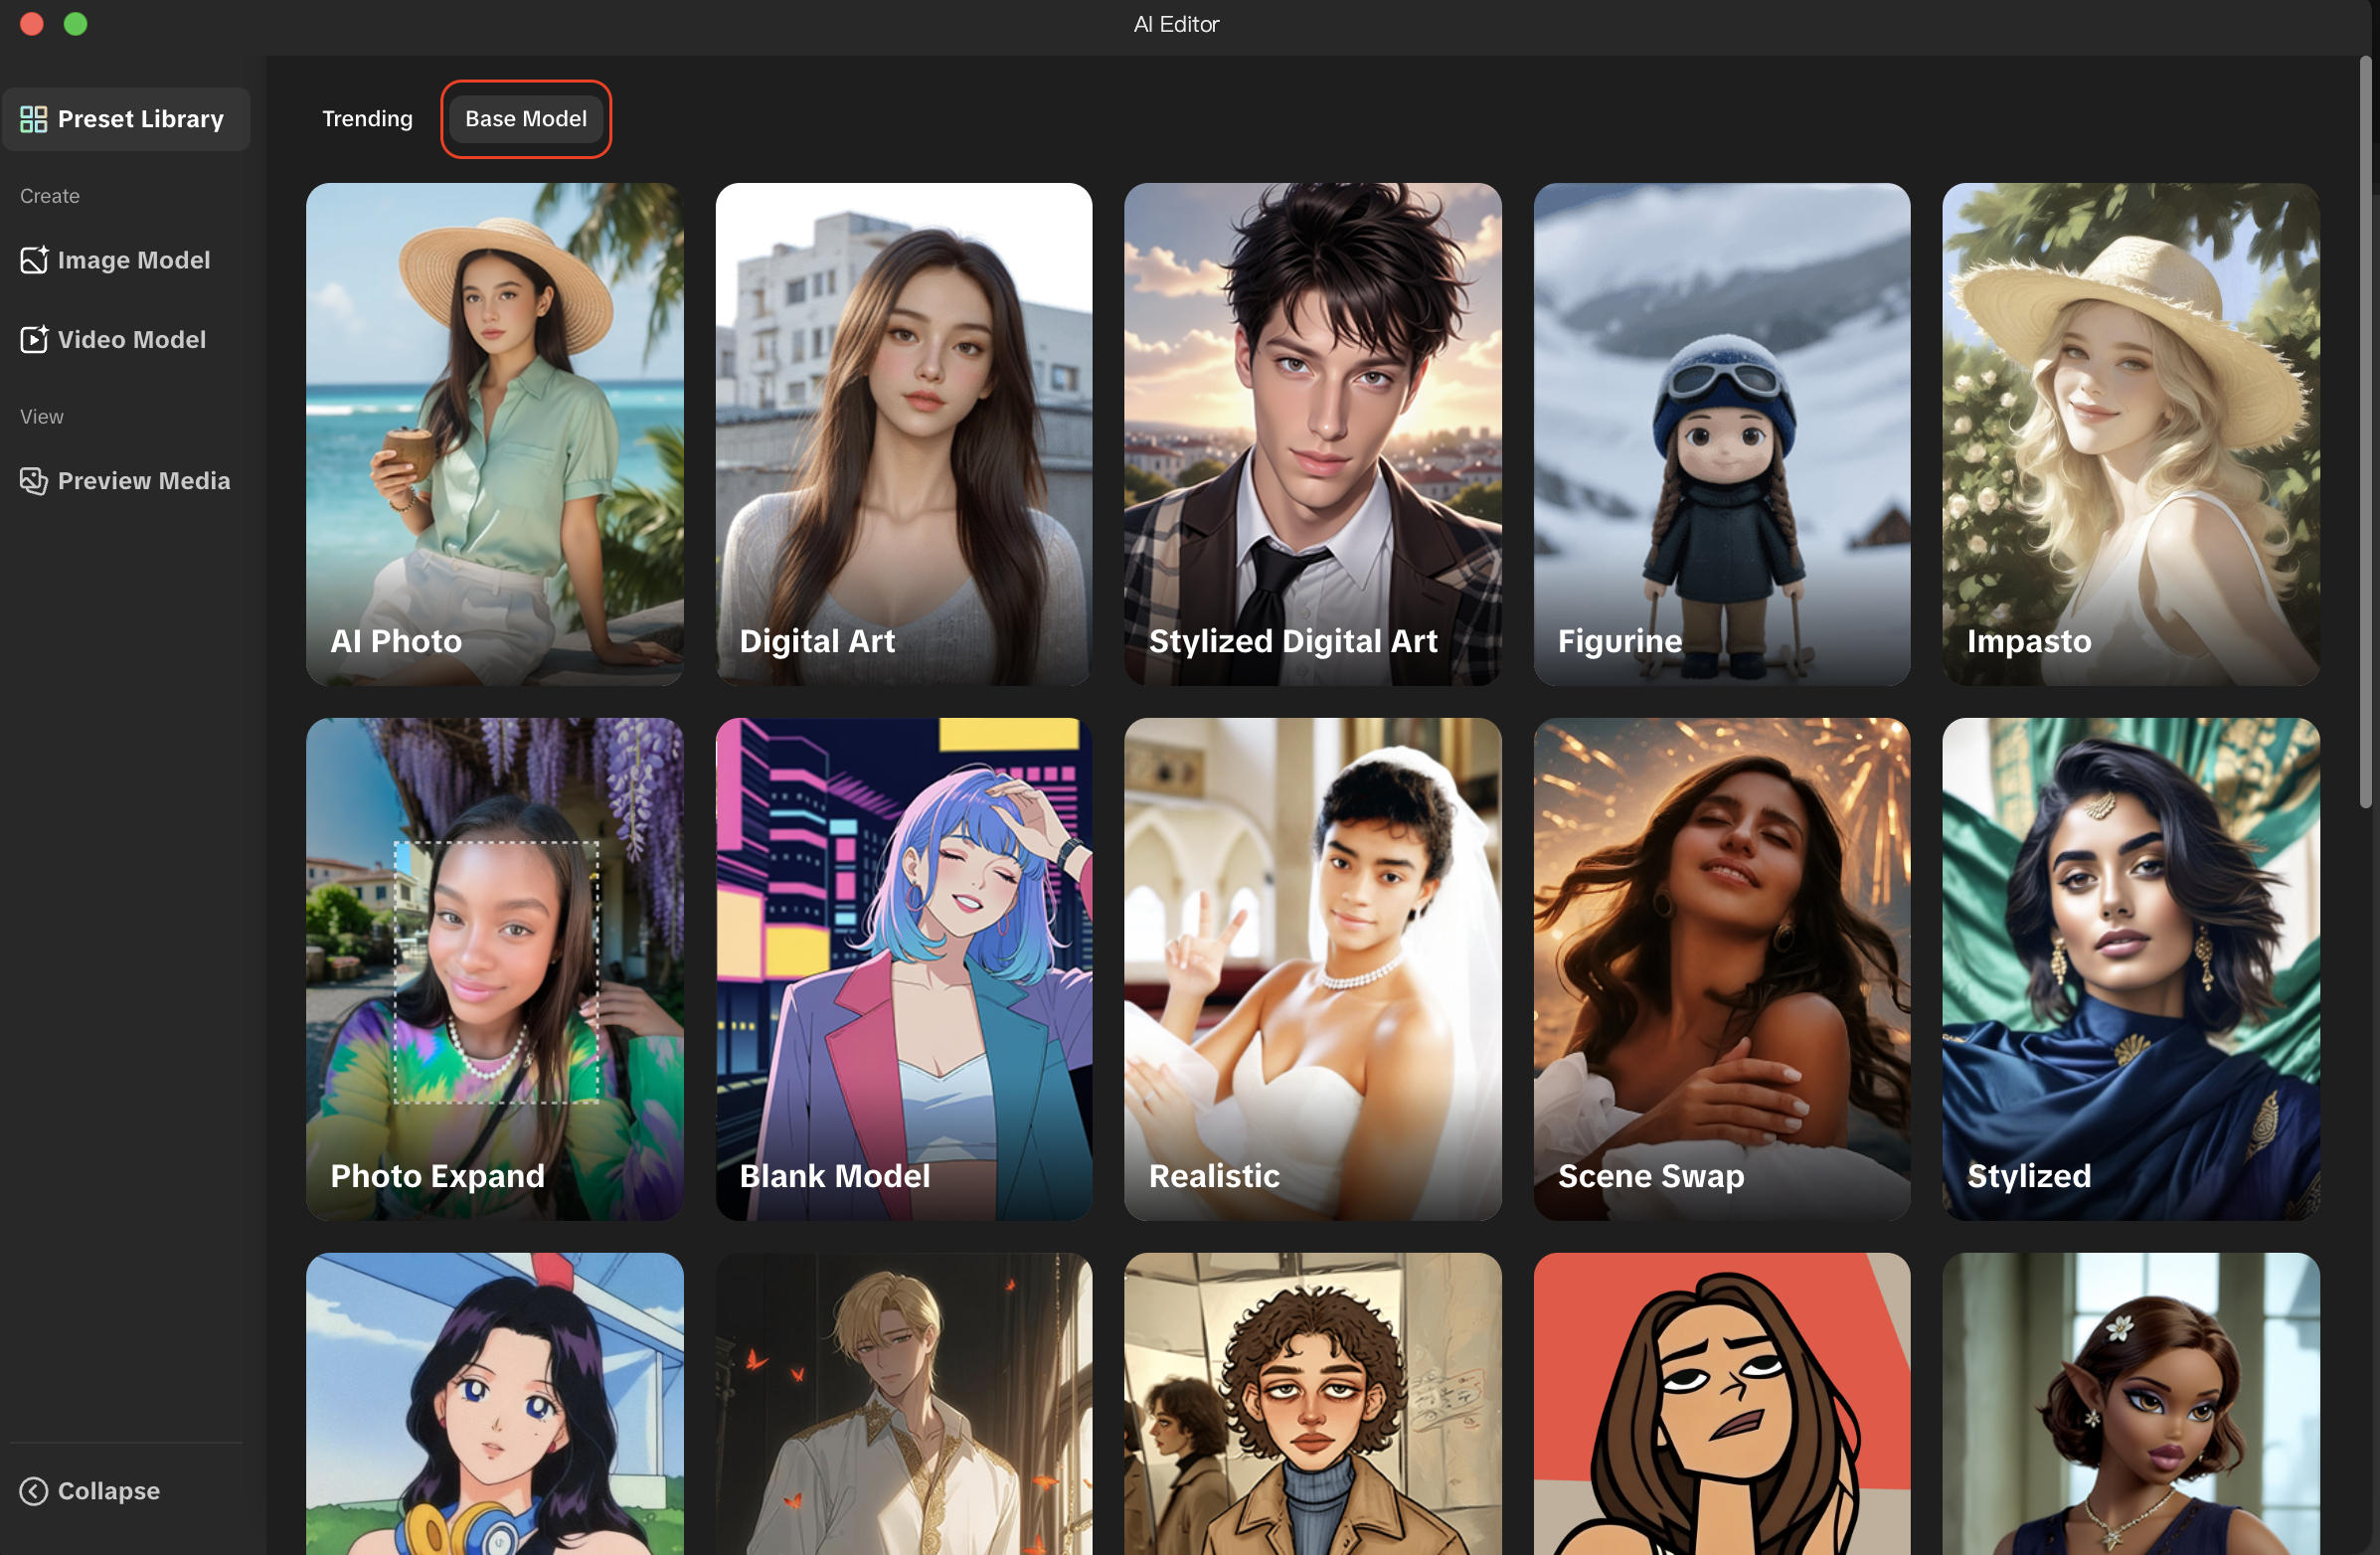
Preset Library
There are two main tabs in the Preset Library. Trending displays models created by the Effect House community. Base Models display the same base models that are in the Preset Library. You can use any of the models in these tabs as is and apply it to your effect, or customize it with the image generator.
Preview Media Library
For AI Video, the media placed in the first position will be used as the default video preview.
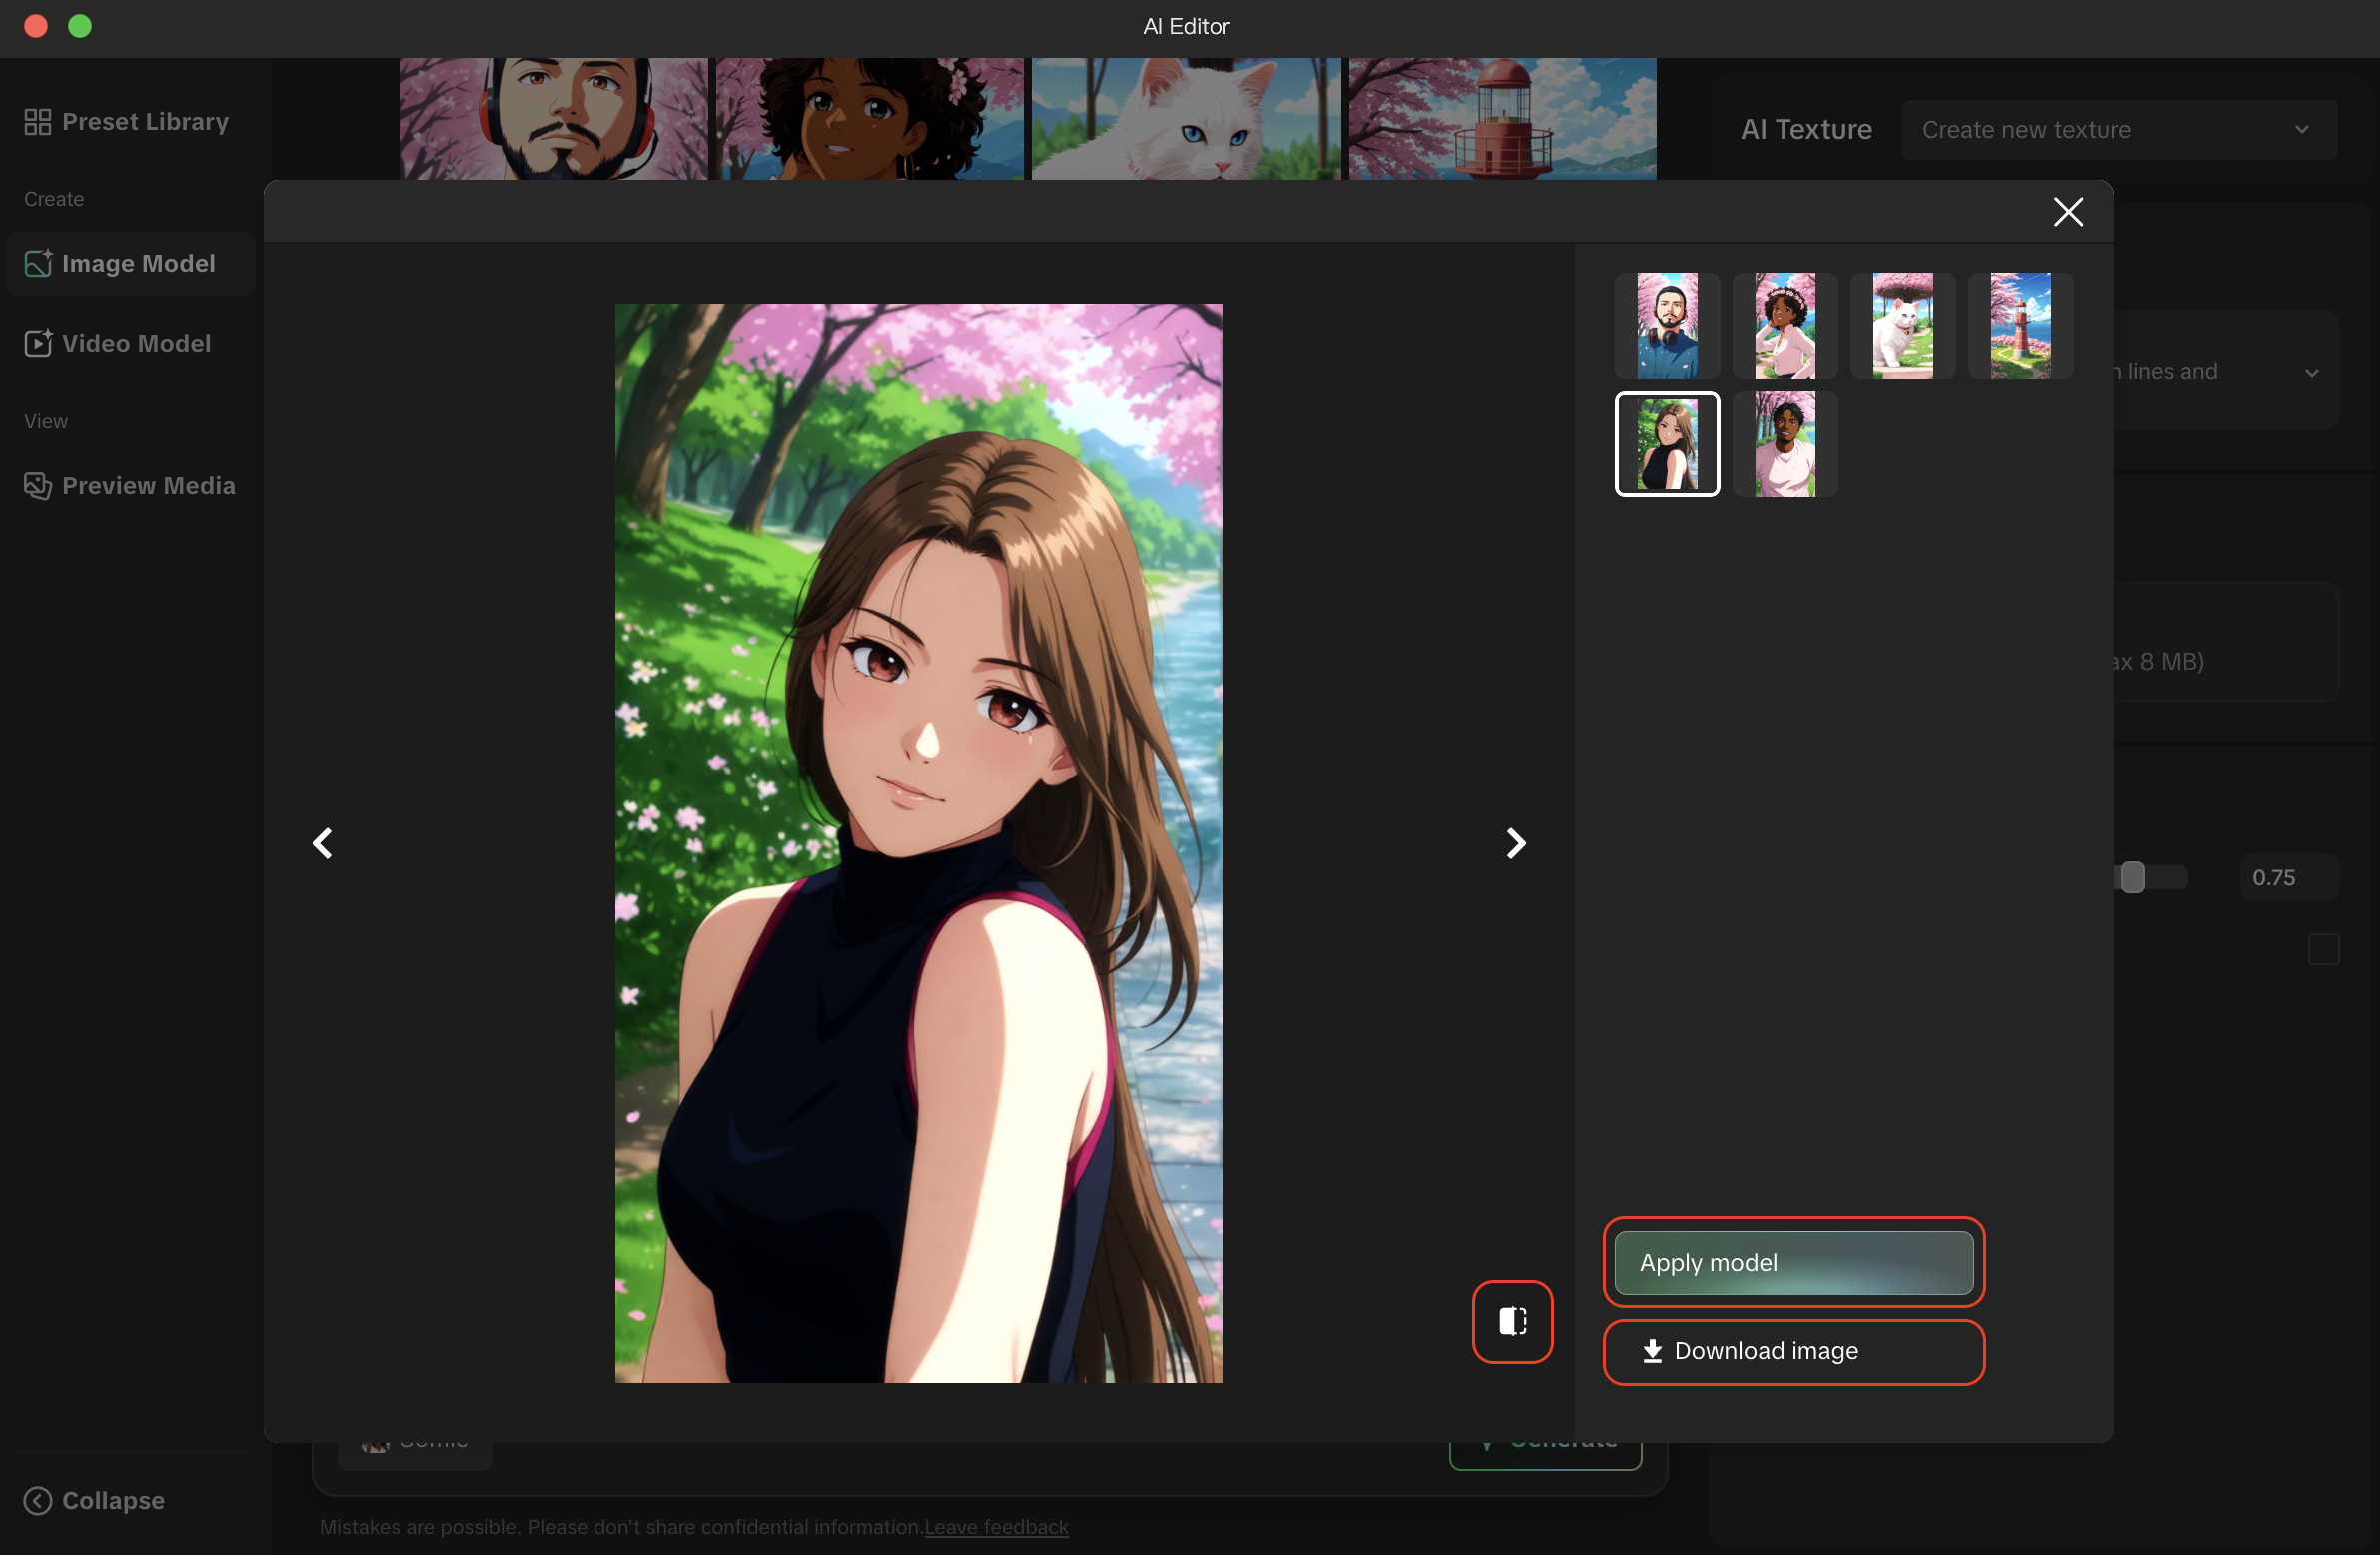
You can click Preview Media to select or upload the media you want to use to preview your AI model.
- Click Preview Media
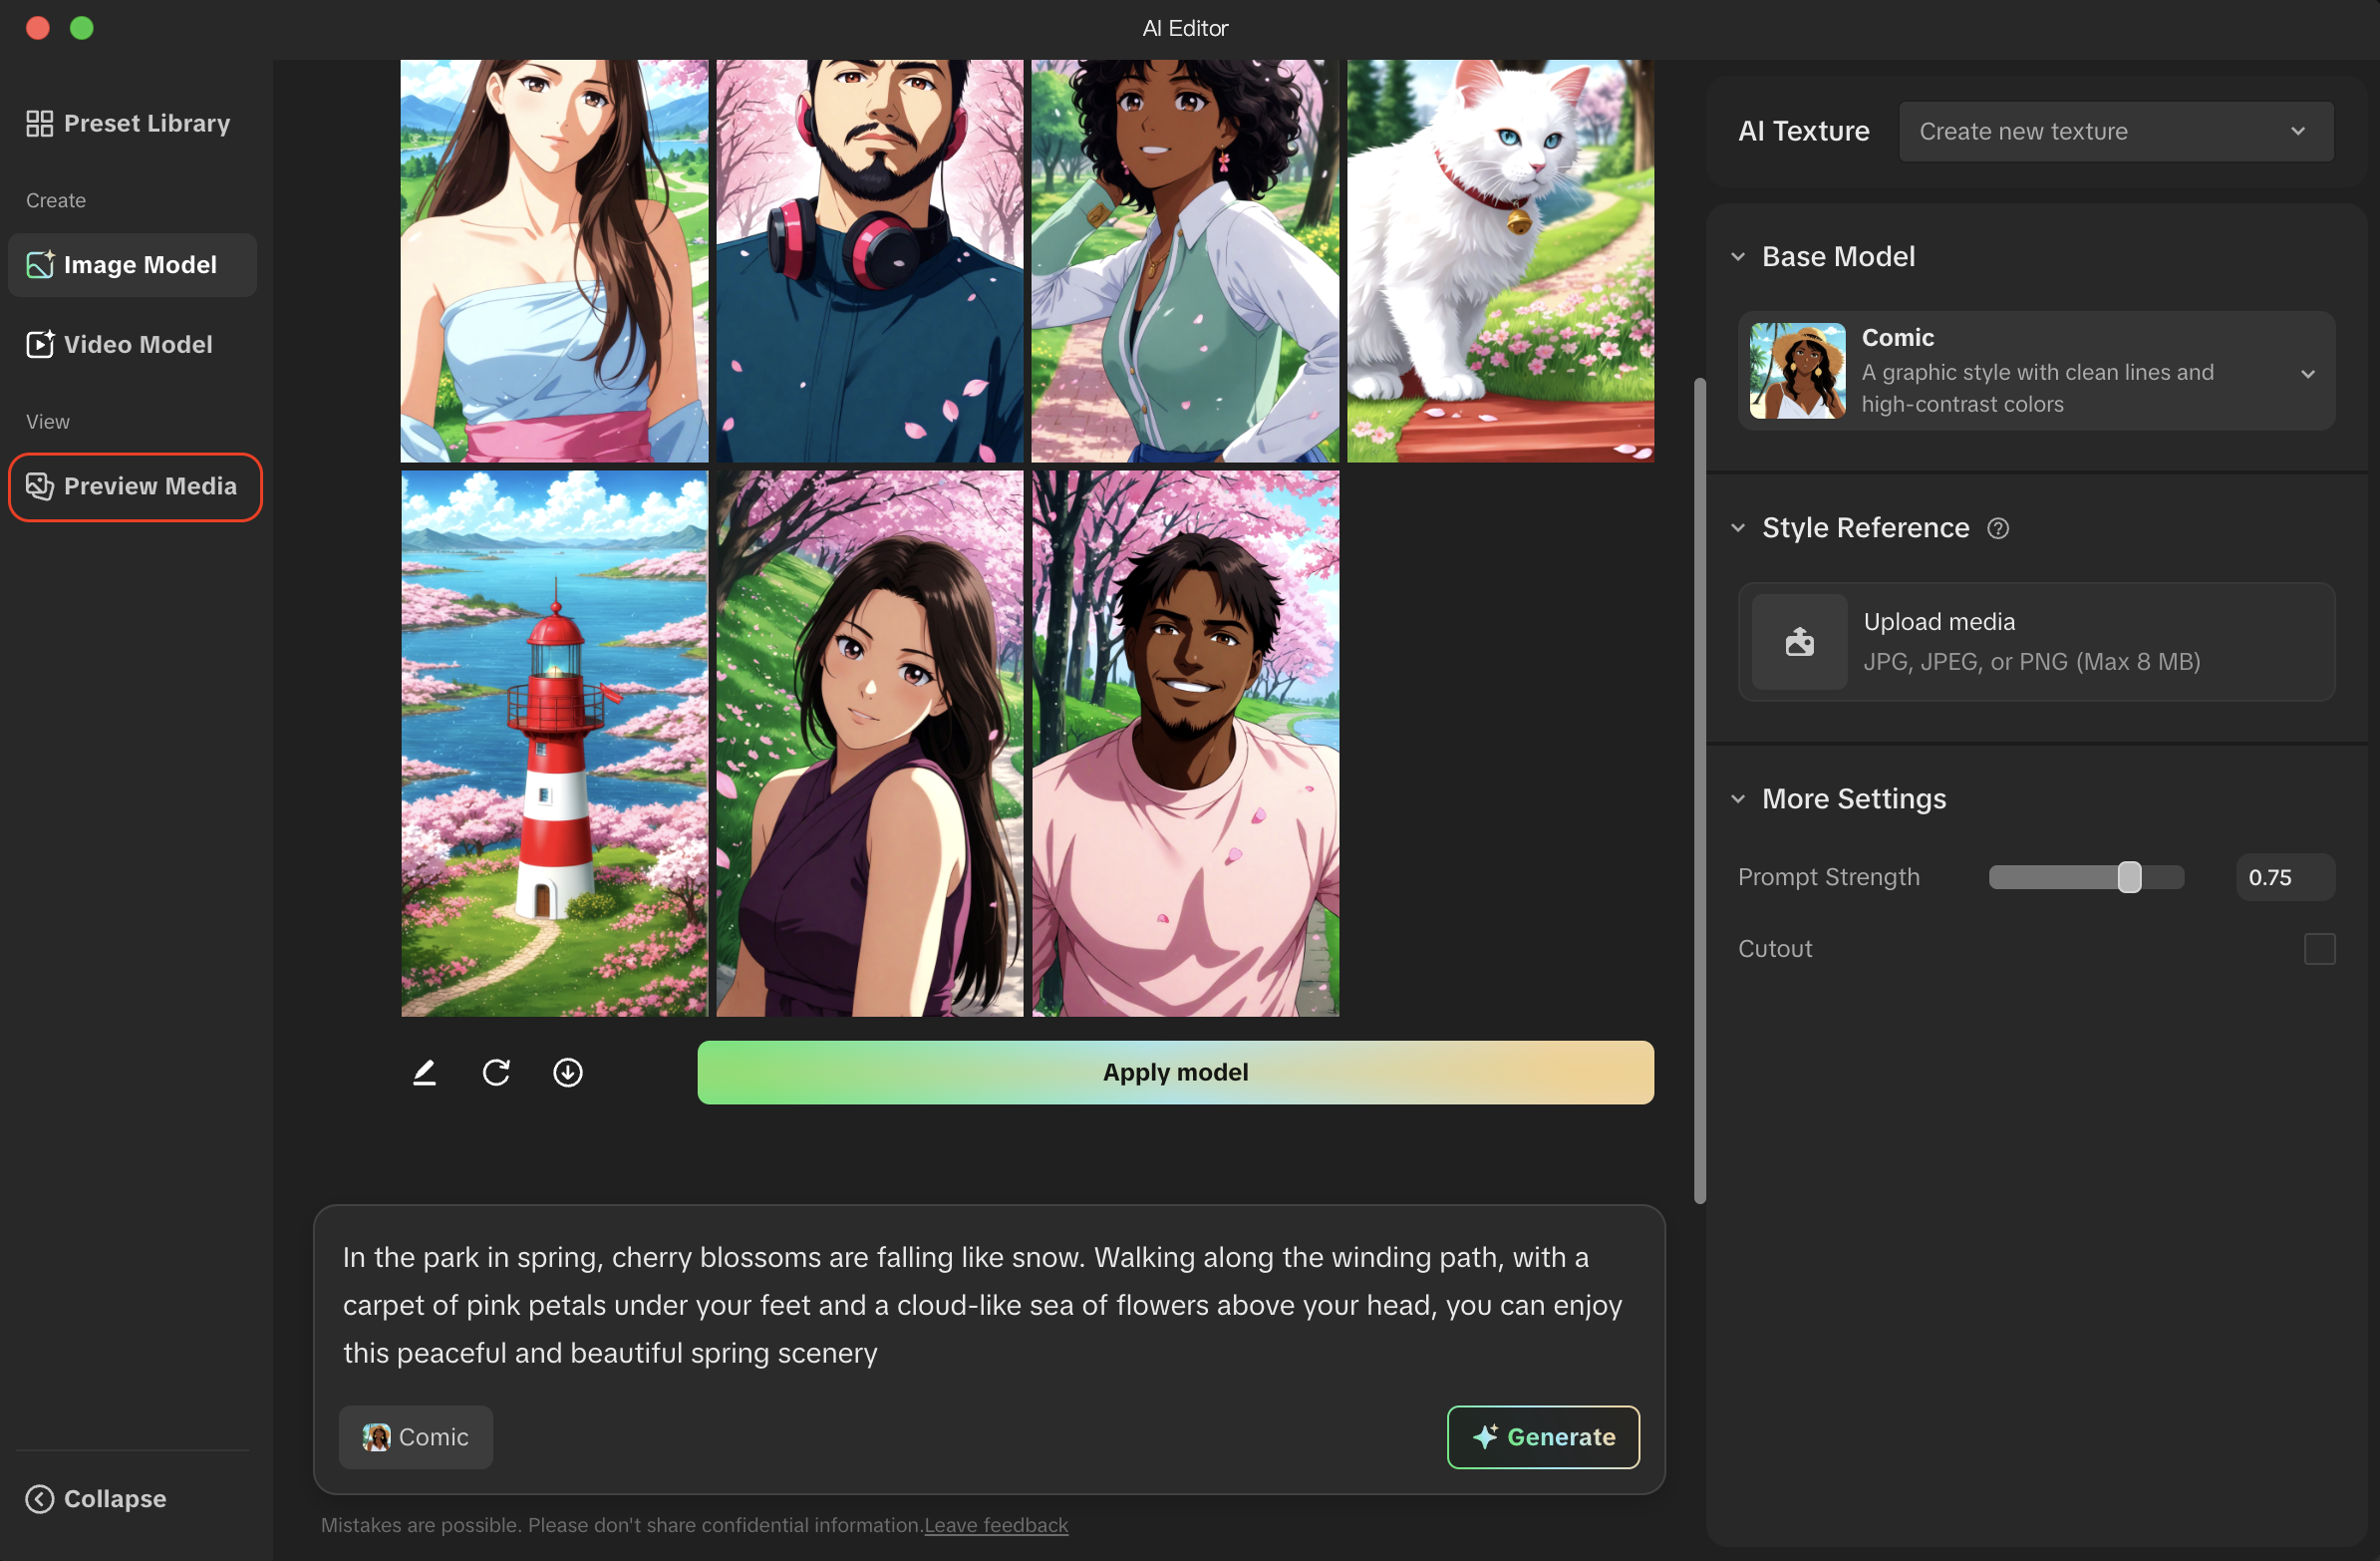
- Select the media you want to use for preview or upload your own media
- Click Done. You are now taken back to the Image Generator.

- Click Generate. Your AI model is now applied to your newly selected media. In this example, you can see the images are generated based on your preview image.

- From here, you can click on an image and compare it with the original media, apply the model to your effect, or download the image as an asset.