Timeline Editor
The Timeline editor allows you to drag and drop multiple objects and assets onto the timeline, where you can control their visibility and timing using keyframes. This provides an easier way to customize how objects appear, move, and interact within your effect.
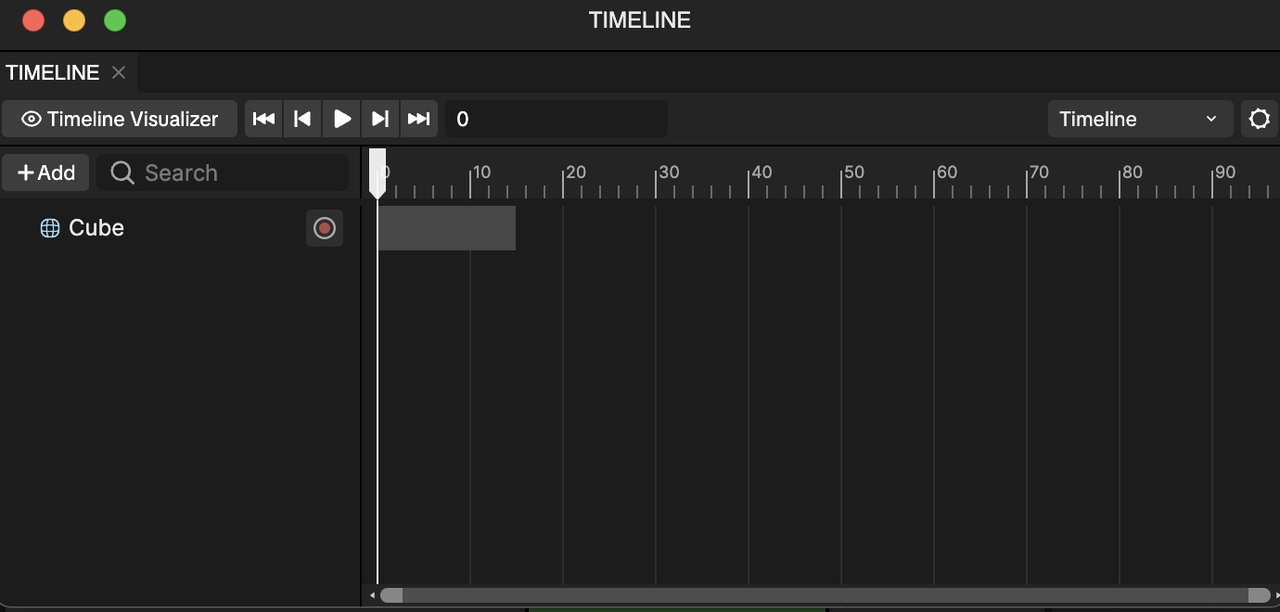
Timeline Controls
The Timeline controls include the following buttons to help you navigate the Timeline, control playback, and manage audio output:
- Timeline Visualizer: Shows or hides the Timeline to view changes and events while editing.
- Jump to Start: Moves the playhead to the beginning of the timeline.
- Step Back: Moves the playhead backward by a single frame or step.
- Play: Plays the timeline from the current playhead position.
- Step Forward: Moves the playhead forward by a single frame or step.
- Jump to End: Moves the playhead to the end of the timeline.
- Audio Output: Controls timeline audio playback, allowing you to adjust the master volume for overall audio levels or fine tune individual volume controls for each audio track in the Timeline.

Add an Object or Asset to Timeline
You can easily add an object by dragging it into the Timeline editor directly. You can also add an object or asset by clicking the Add button [+] and selecting:
- Activation Track: To add an object from the Hierarchy panel
- Video Track: To add a supported asset such as animations MP4s, GIFs, or images
- Audio Track: To add an audio asset from the Assets panel
- TikTok Sounds Track: To add a supported TikTok Sounds track

Animate an Object Using Keyframes
Adding a keyframe marks a specific point in time where a property (like position, rotation, or scale) changes. This lets you animate an object over time in your effect. Let's go over how to add a Cube object to the timeline.
- Go to the Hierarchy panel
- Click the Add object button [+]
- Go to 3D
- Select Cube. The Cube object is now added to the Hierarchy panel.
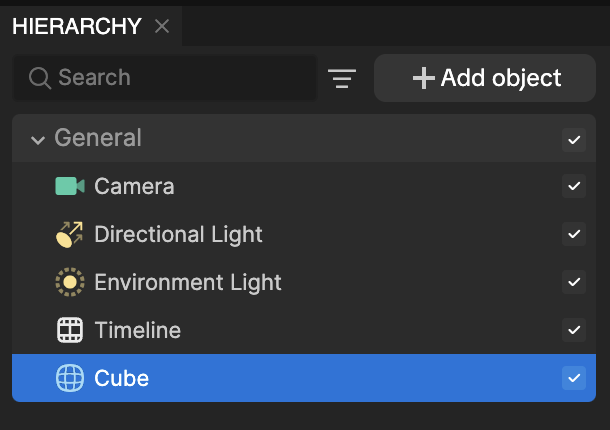
Next, we'll add the Cube object from the Hierarchy panel into the Timeline editor.
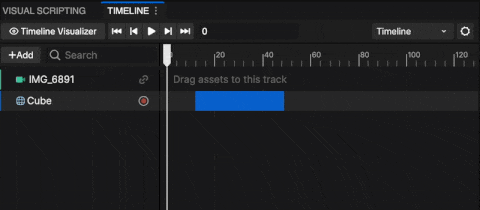
- Click on the Cube object and drag it anywhere into the Timeline editor
You can also follow the same process to add assets such as MP4s, GIFs, and images by dragging them directly from the Assets panel into the Timeline editor.
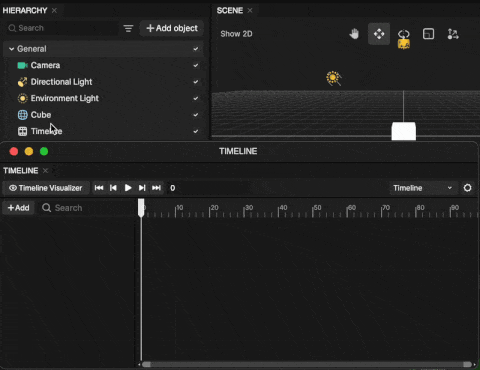
Now, let's record an action and make adjustments within the Scene panel.
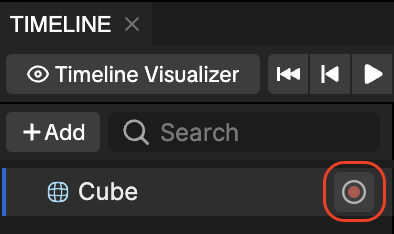
- Go to the Timeline editor
- Go to the Cube object
- Click Record. The Timeline editor will now start recording keyframes based on your adjustments within the Scene panel or manual adjustments within the Inspector panel.
- Adjust the slider to your preferred frame
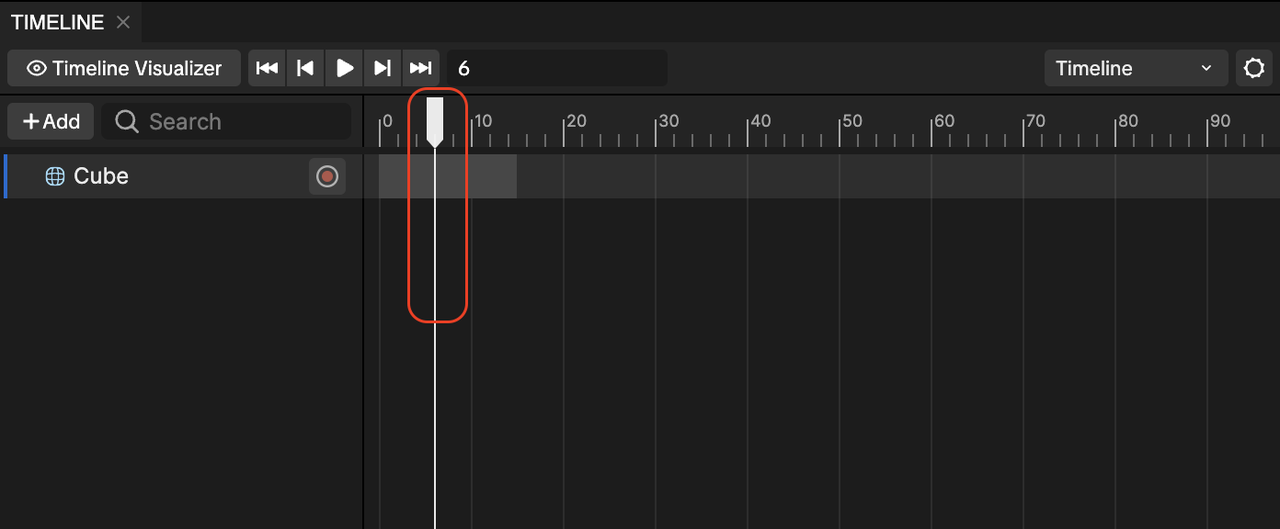
In this example, we'll move the Cube object while the Timeline is in record mode.
You can also make adjustments to the various properties within the Inspector panel.
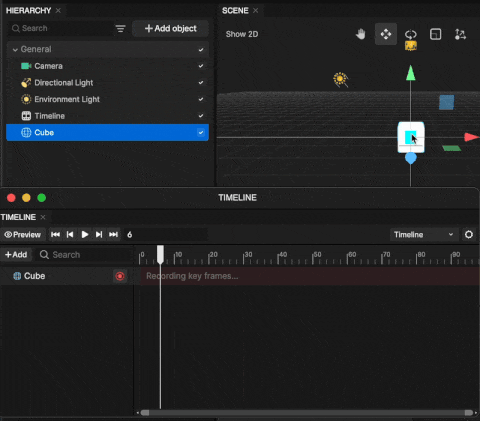
- Go to the Scene panel
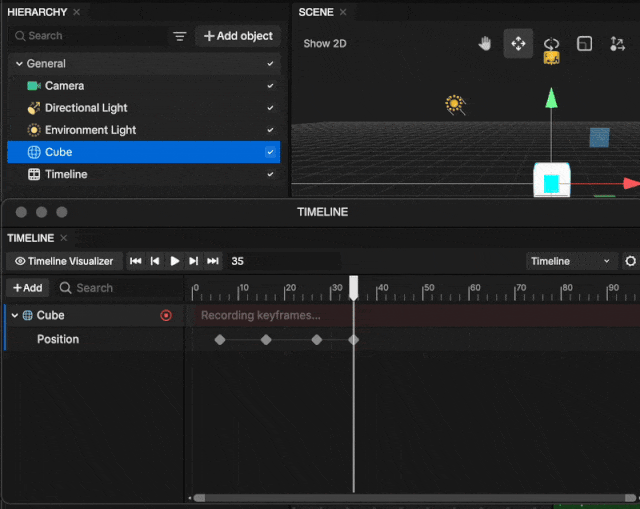
- Click on the Cube object and drag it to another area. This will record the Cube objects' new position as a keyframe.
With the same logic described above, repeat this process to create additional keyframes.
Adjust Material Parameters
You can edit Material parameters directly in the Timeline or Inspector panel, allowing you to make updates without switching back to the Assets panel.
Record Parameter Changes
To keyframe Material parameters:
- Go to the Timeline editor
- Select the Object with the Material applied
- Click Record
- Adjust Material parameters in the Inspector panel
Your changes will automatically be recorded as keyframes.

Show or Hide Parameters
You can control which Material parameters are visible in the Inspector panel:
- Go to the Inspector panel
- Click the parameter mapping display button next to the reference bar
- Toggle parameter visibility as needed

Supported Material parameters are displayed by default. The display height follows the same behavior as other mapped parameters.
Adjust an Existing Keyframe
To adjust an object's keyframe in the Timeline editor, click and drag the keyframe to a new frame position of your choice.
To delete a keyframe, right-click the keyframe and select Delete, or press Delete on your keyboard.
Adjust Duration
To change how long the Cube object plays, drag its edges horizontally. Drag inward to shorten the duration, or outward to make it longer.
You can also duplicate it by right-clicking and selecting Duplicate, or by pressing Command [⌘] + D.
Add Additional Tracks
You can layer multiple objects or assets in your effect by adding additional tracks.
To add a track:
- Go to the Timeline editor
- Click the Add button [+]
Then, select the track type you'd like to add:
- Activation Track: Add an object from the Hierarchy panel
- Video Track: Add a supported asset such as animations MP4s, GIFs, or images
- Audio Track: Add an audio asset from the Assets panel
- TikTok Sounds Track: Add a supported TikTok Sounds track
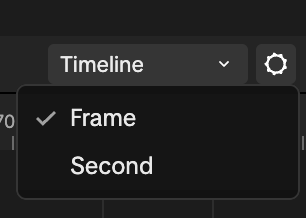
Change From Frame to Seconds
You can also change the view from Frame or Seconds.
To change the view:
- Go to the Timeline editor
- Click Settings
- Select Frame or Seconds. The timeline view will update based on your selection.